Log cabin quilt for a newborn girl
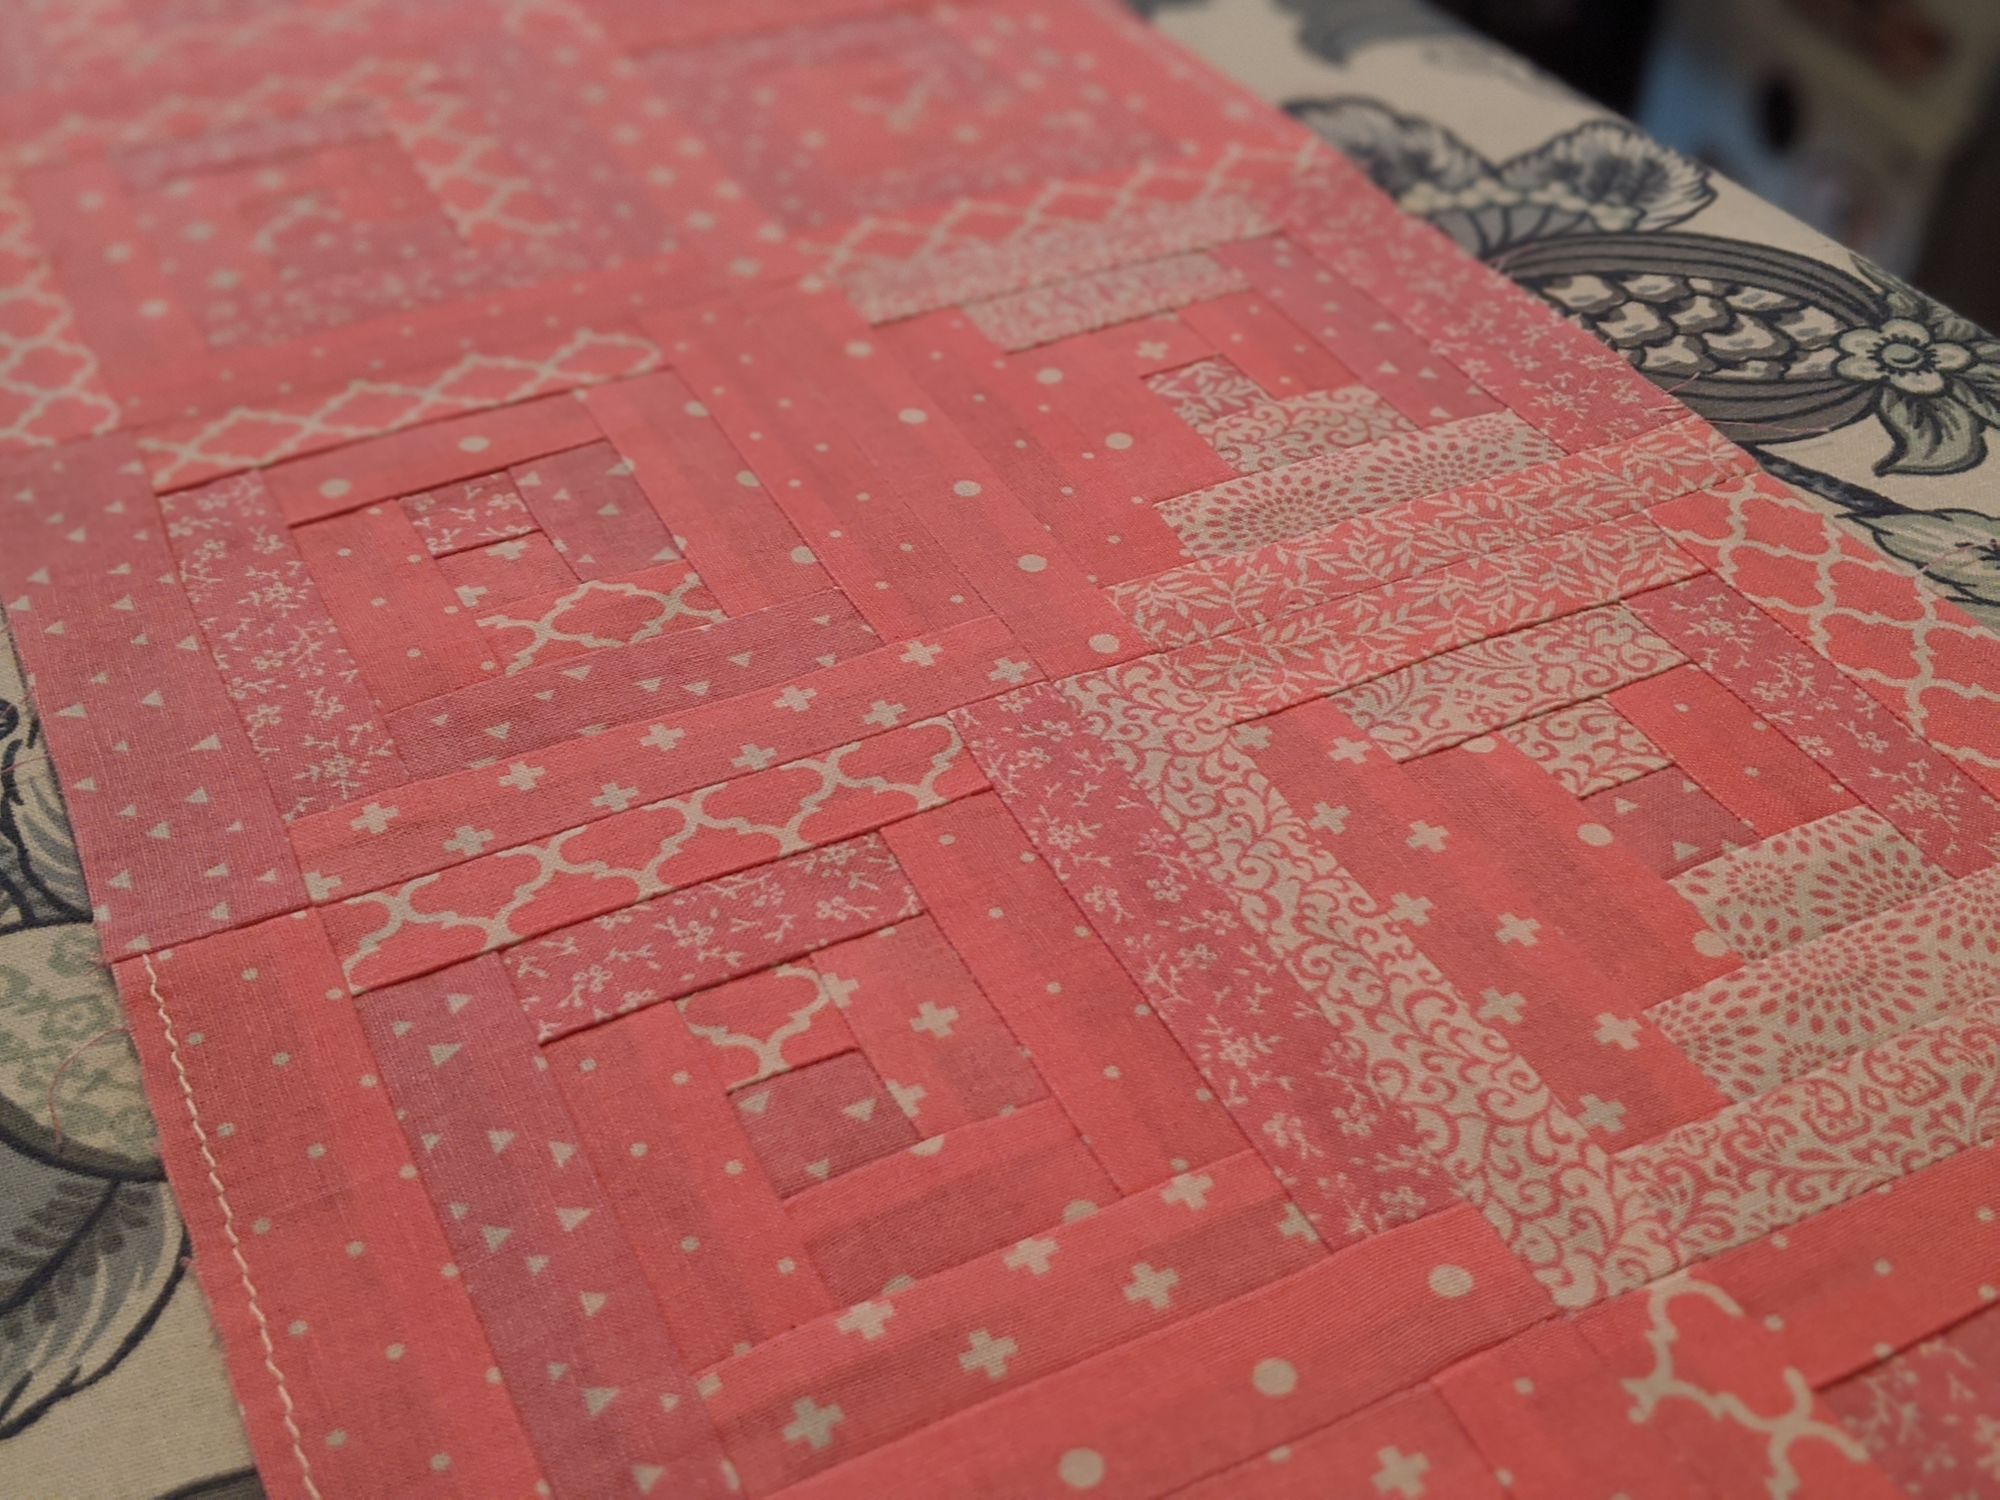
So, this is my first blog writing for EZ Piecing. I'm married into the family, but I've been a lifelong hobbyist including sewing and quilts. I've found that using EZ Piecing leave-in foundations has made the act of piecing together quilts infinitely easier.
This will be like a traditional blog - a work in progress. So, if you're interested in what it takes to put together a quilt with what seems like hundreds of little seams that all seem to be perfectly aligned, and have it come out perfect, well, this was some of my efforts towards that.
I had the Gemstone Pop Quilt fabric kit with pattern, which was a full pattern and all the fabric required that was put together by Debbie as a retail kit and is positively beautiful.
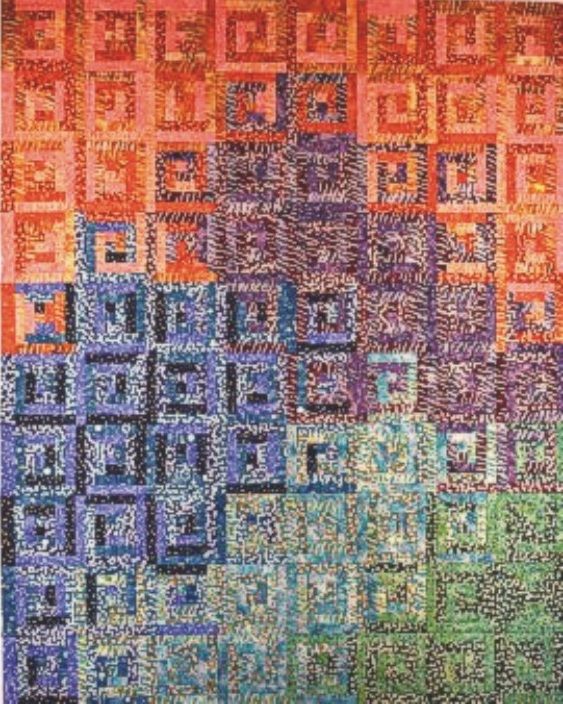
However, these colors didn't work as well as I'd like for what I'd like to do for my friend's daughter, so I'd need to change things up a bit.
Luckily, the instructions for the Gemstone kit included all the different color combinations for the blocks required to piece together a quilt just like it. All I needed was the new fabric, and because I'd already started creating this Gemstone quilt using the fabric in the kit for my own home, I also needed a bunch more blocks!
That's where the ability to get block refills came in very handy. I needed four packages of the Log Cabin 4 ½" blocks, which contained 24 foundation blocks.
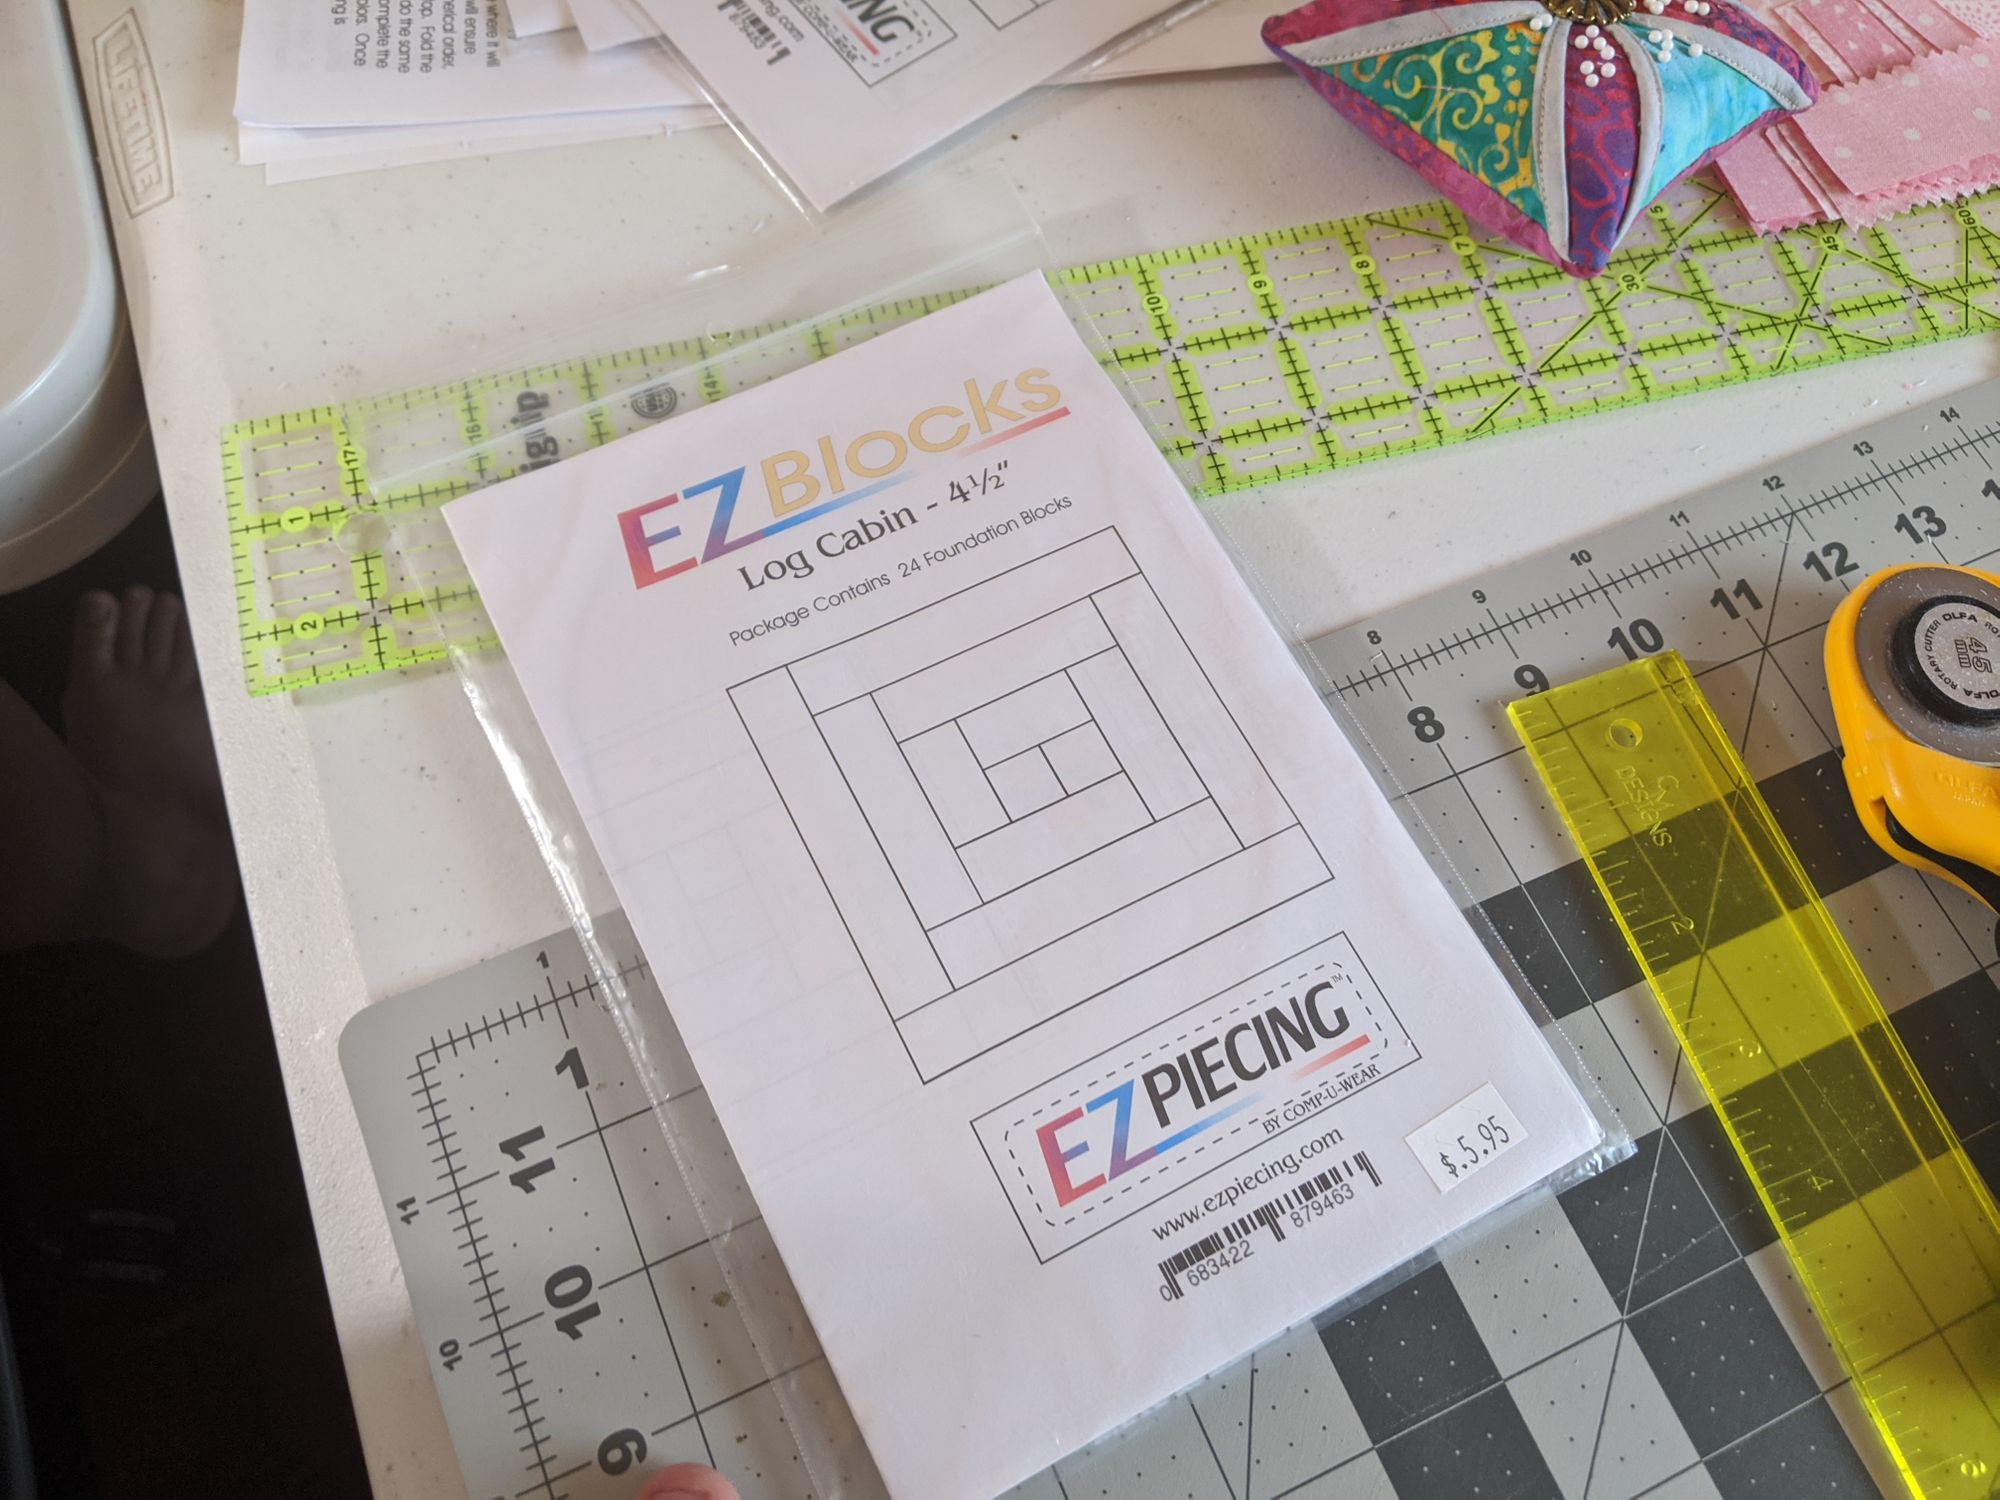
With the original Gemstone quilt instructions, I was able to start cutting. A LOT. In total, I needed over 1000 little pieces (13 pieces per block, eight blocks per row, ten rows, for a total of 1040 pieces).
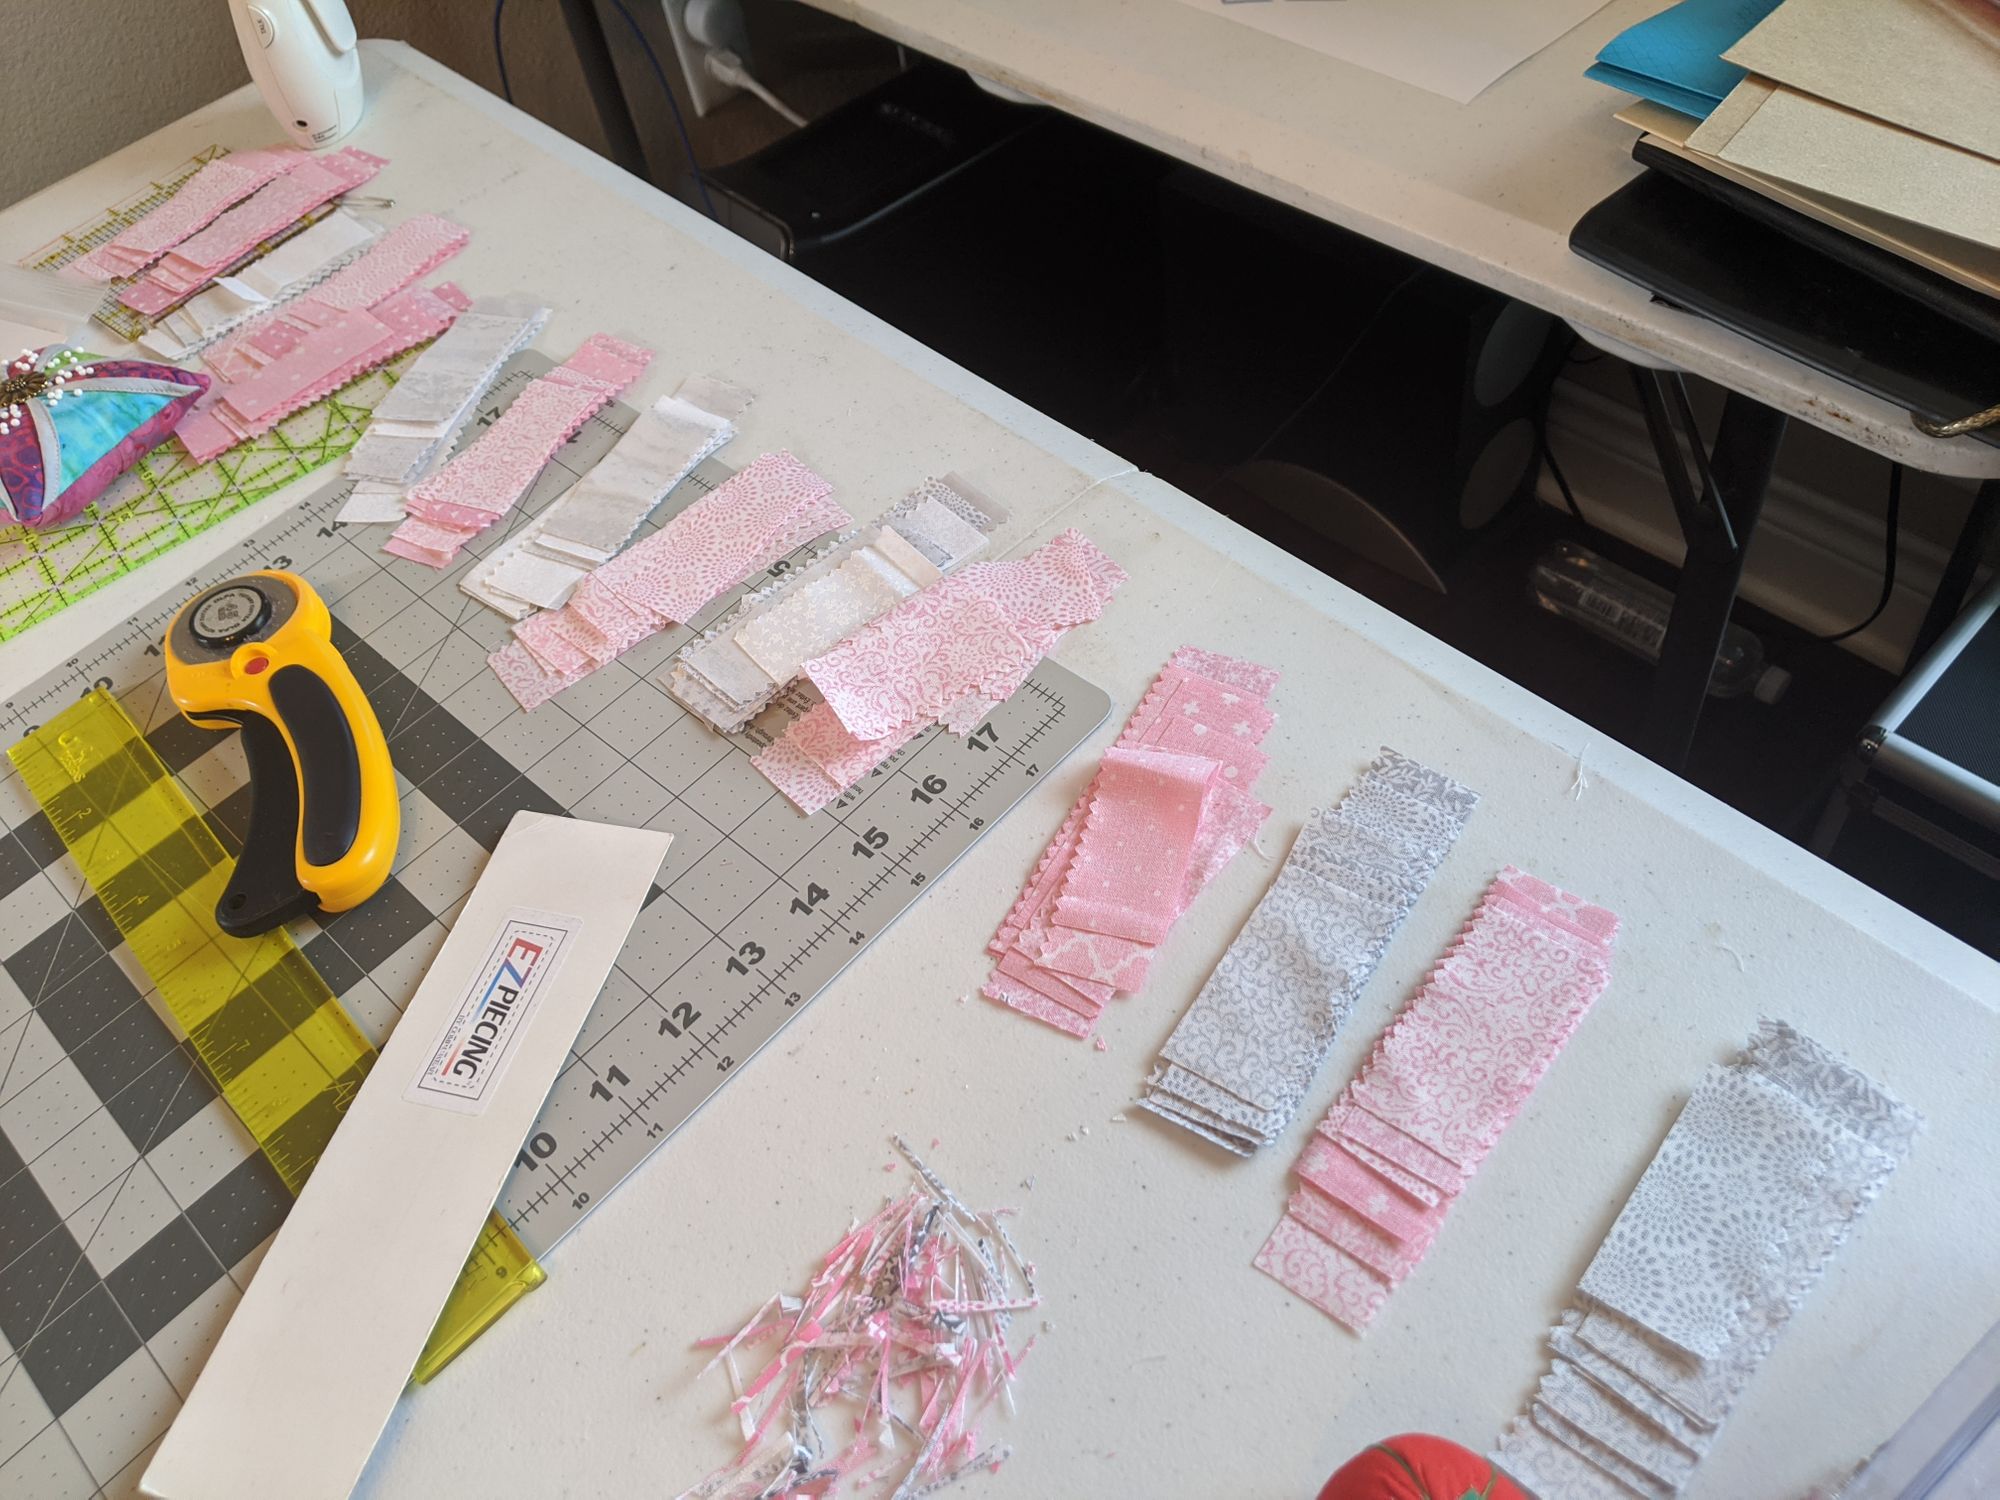
Then came the therapeutic part. Piecing together blocks.
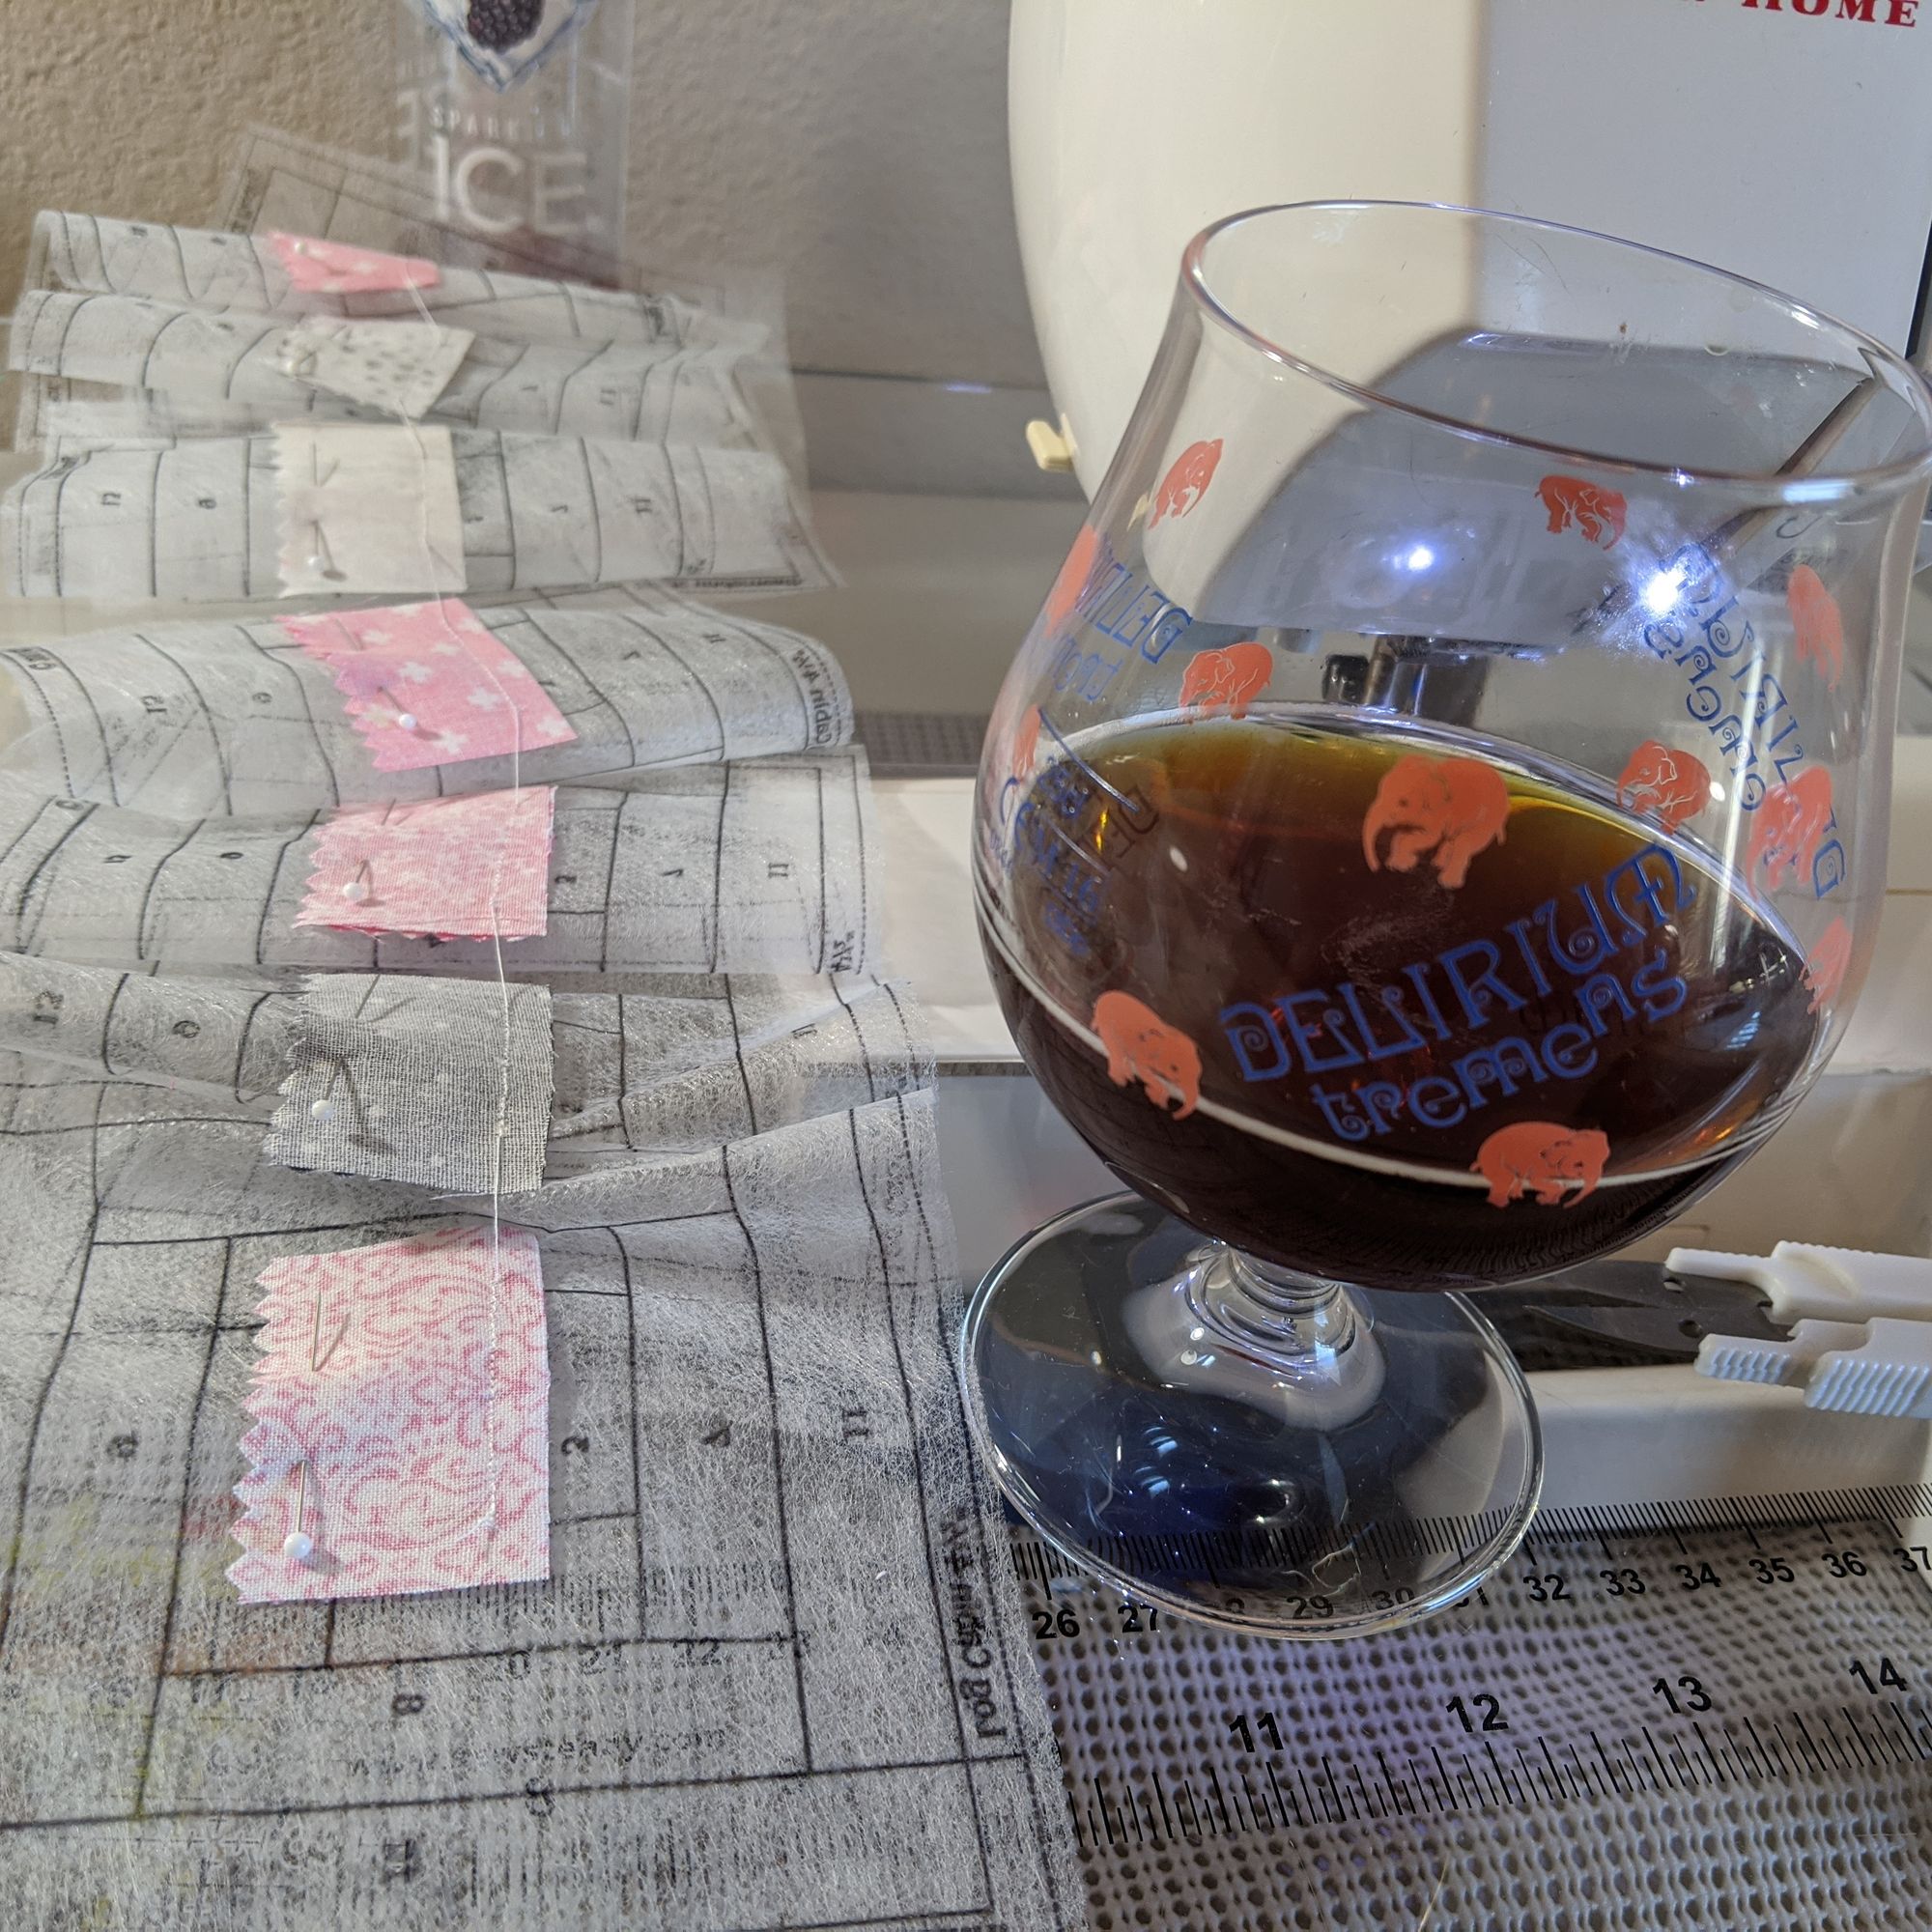
With NFL playoffs in the background - my husband is a huge 49er fan - we shared a nice bottle of Belgian quadrupel while I pieced away on Sunday.
The piecing was simple. Just follow the directions, adding one piece at a time to the foundation blocks. There's a simple pattern: trim the pieces along the line with the add-a-quarter ruler, line up the new piece with right sides facing each other (back side up), pin to hold in place, turn the piece over, and sew along the line. Then trim the thread, iron first to set the stitches, then flip over and iron out.
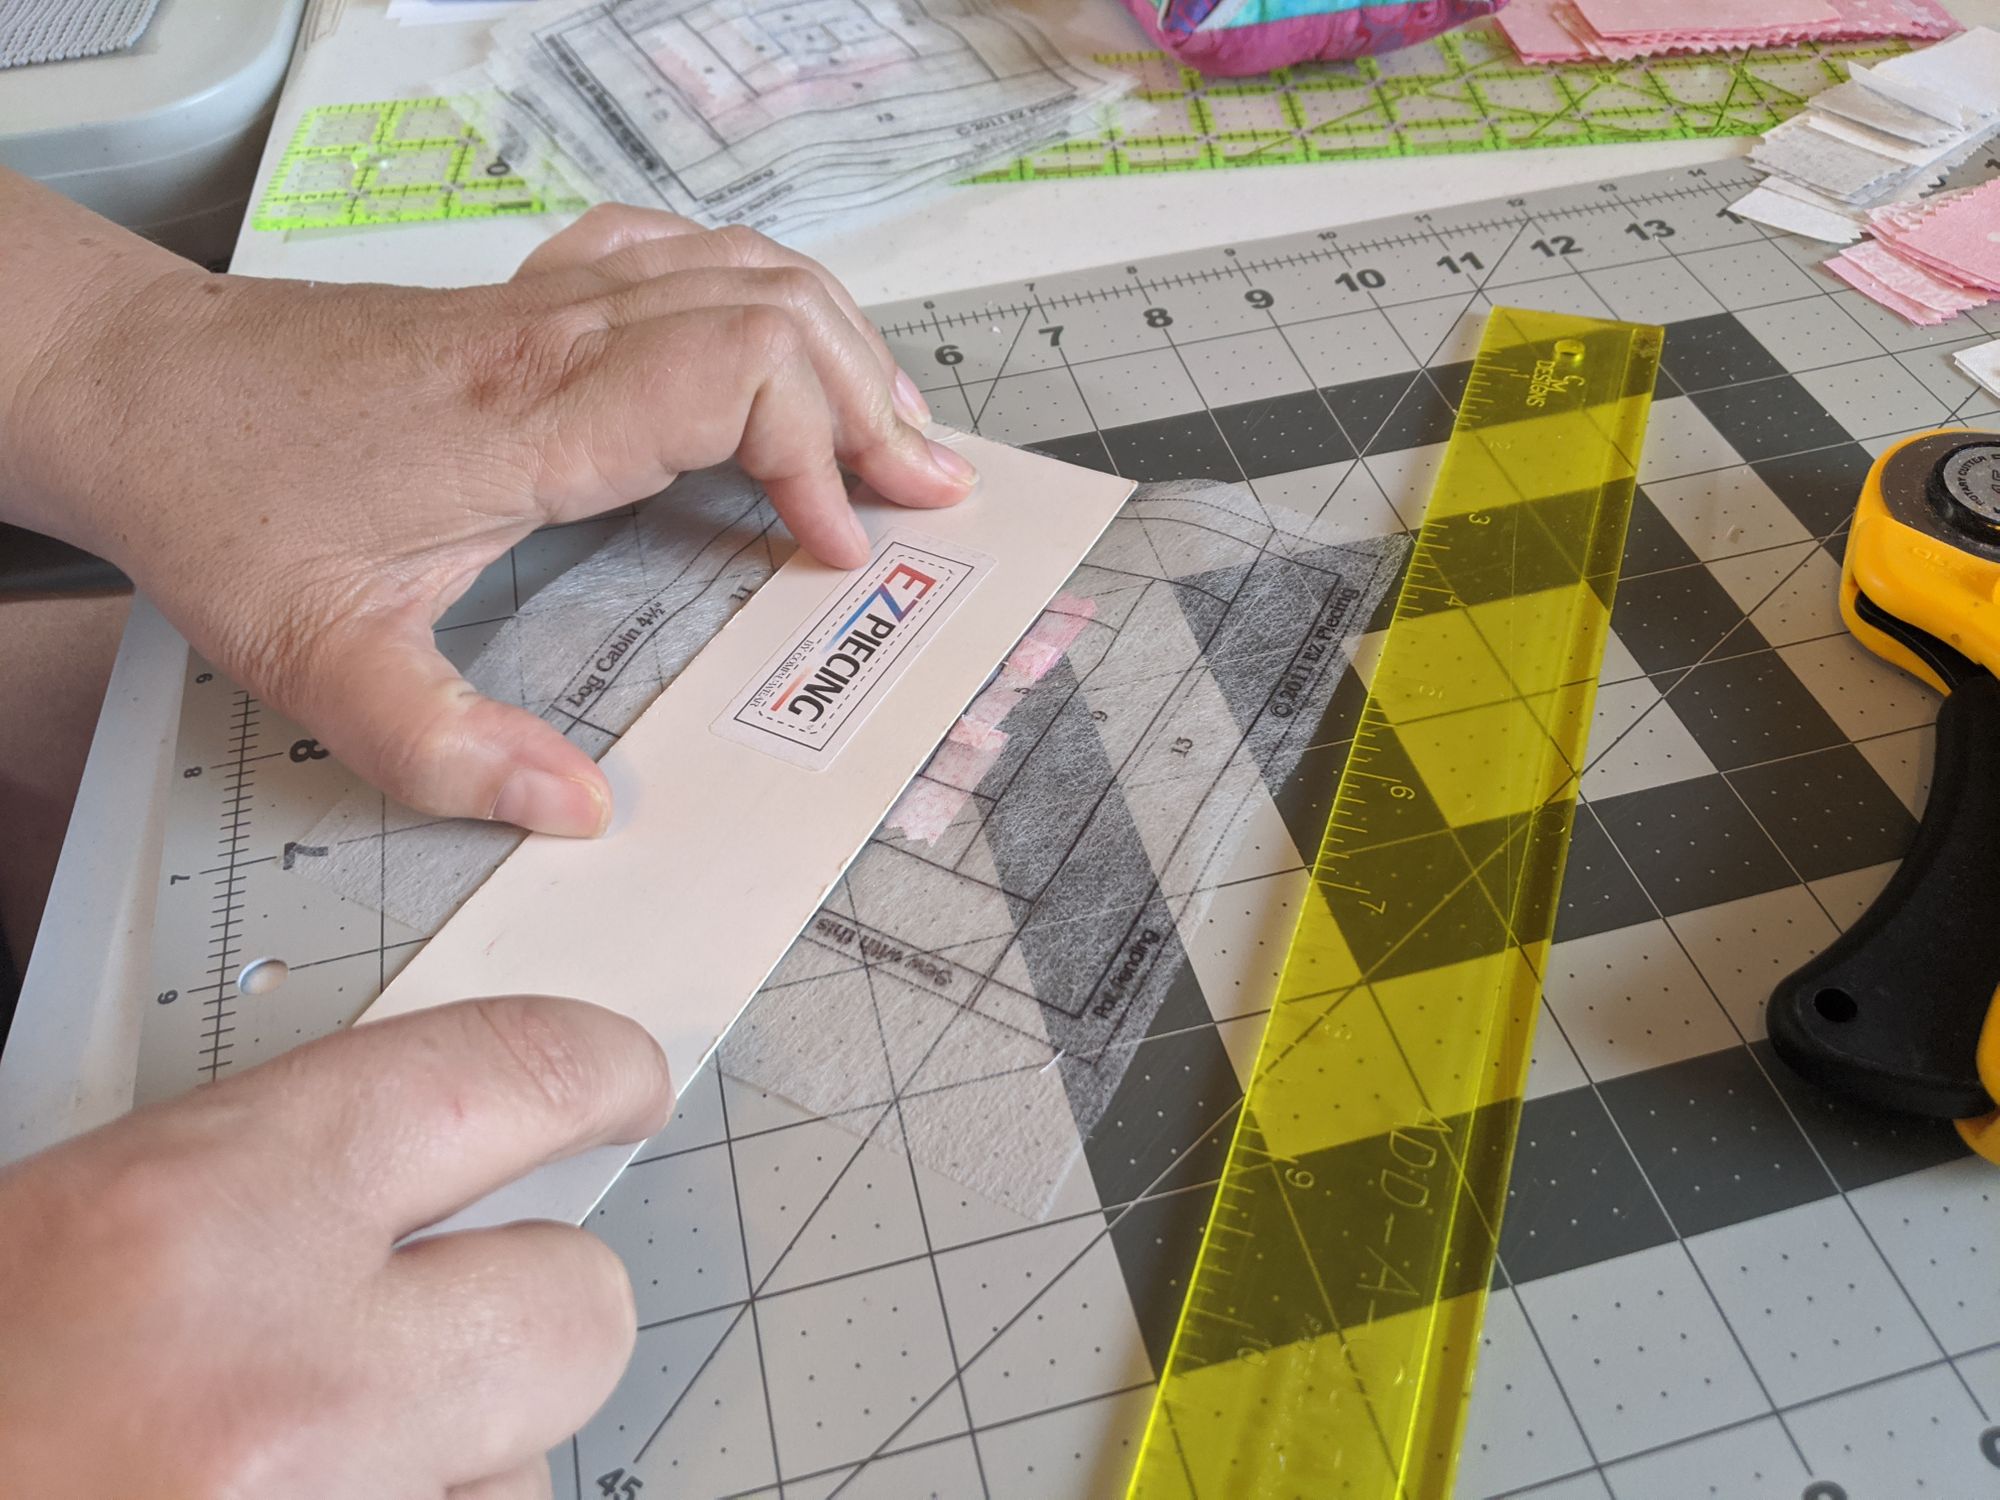
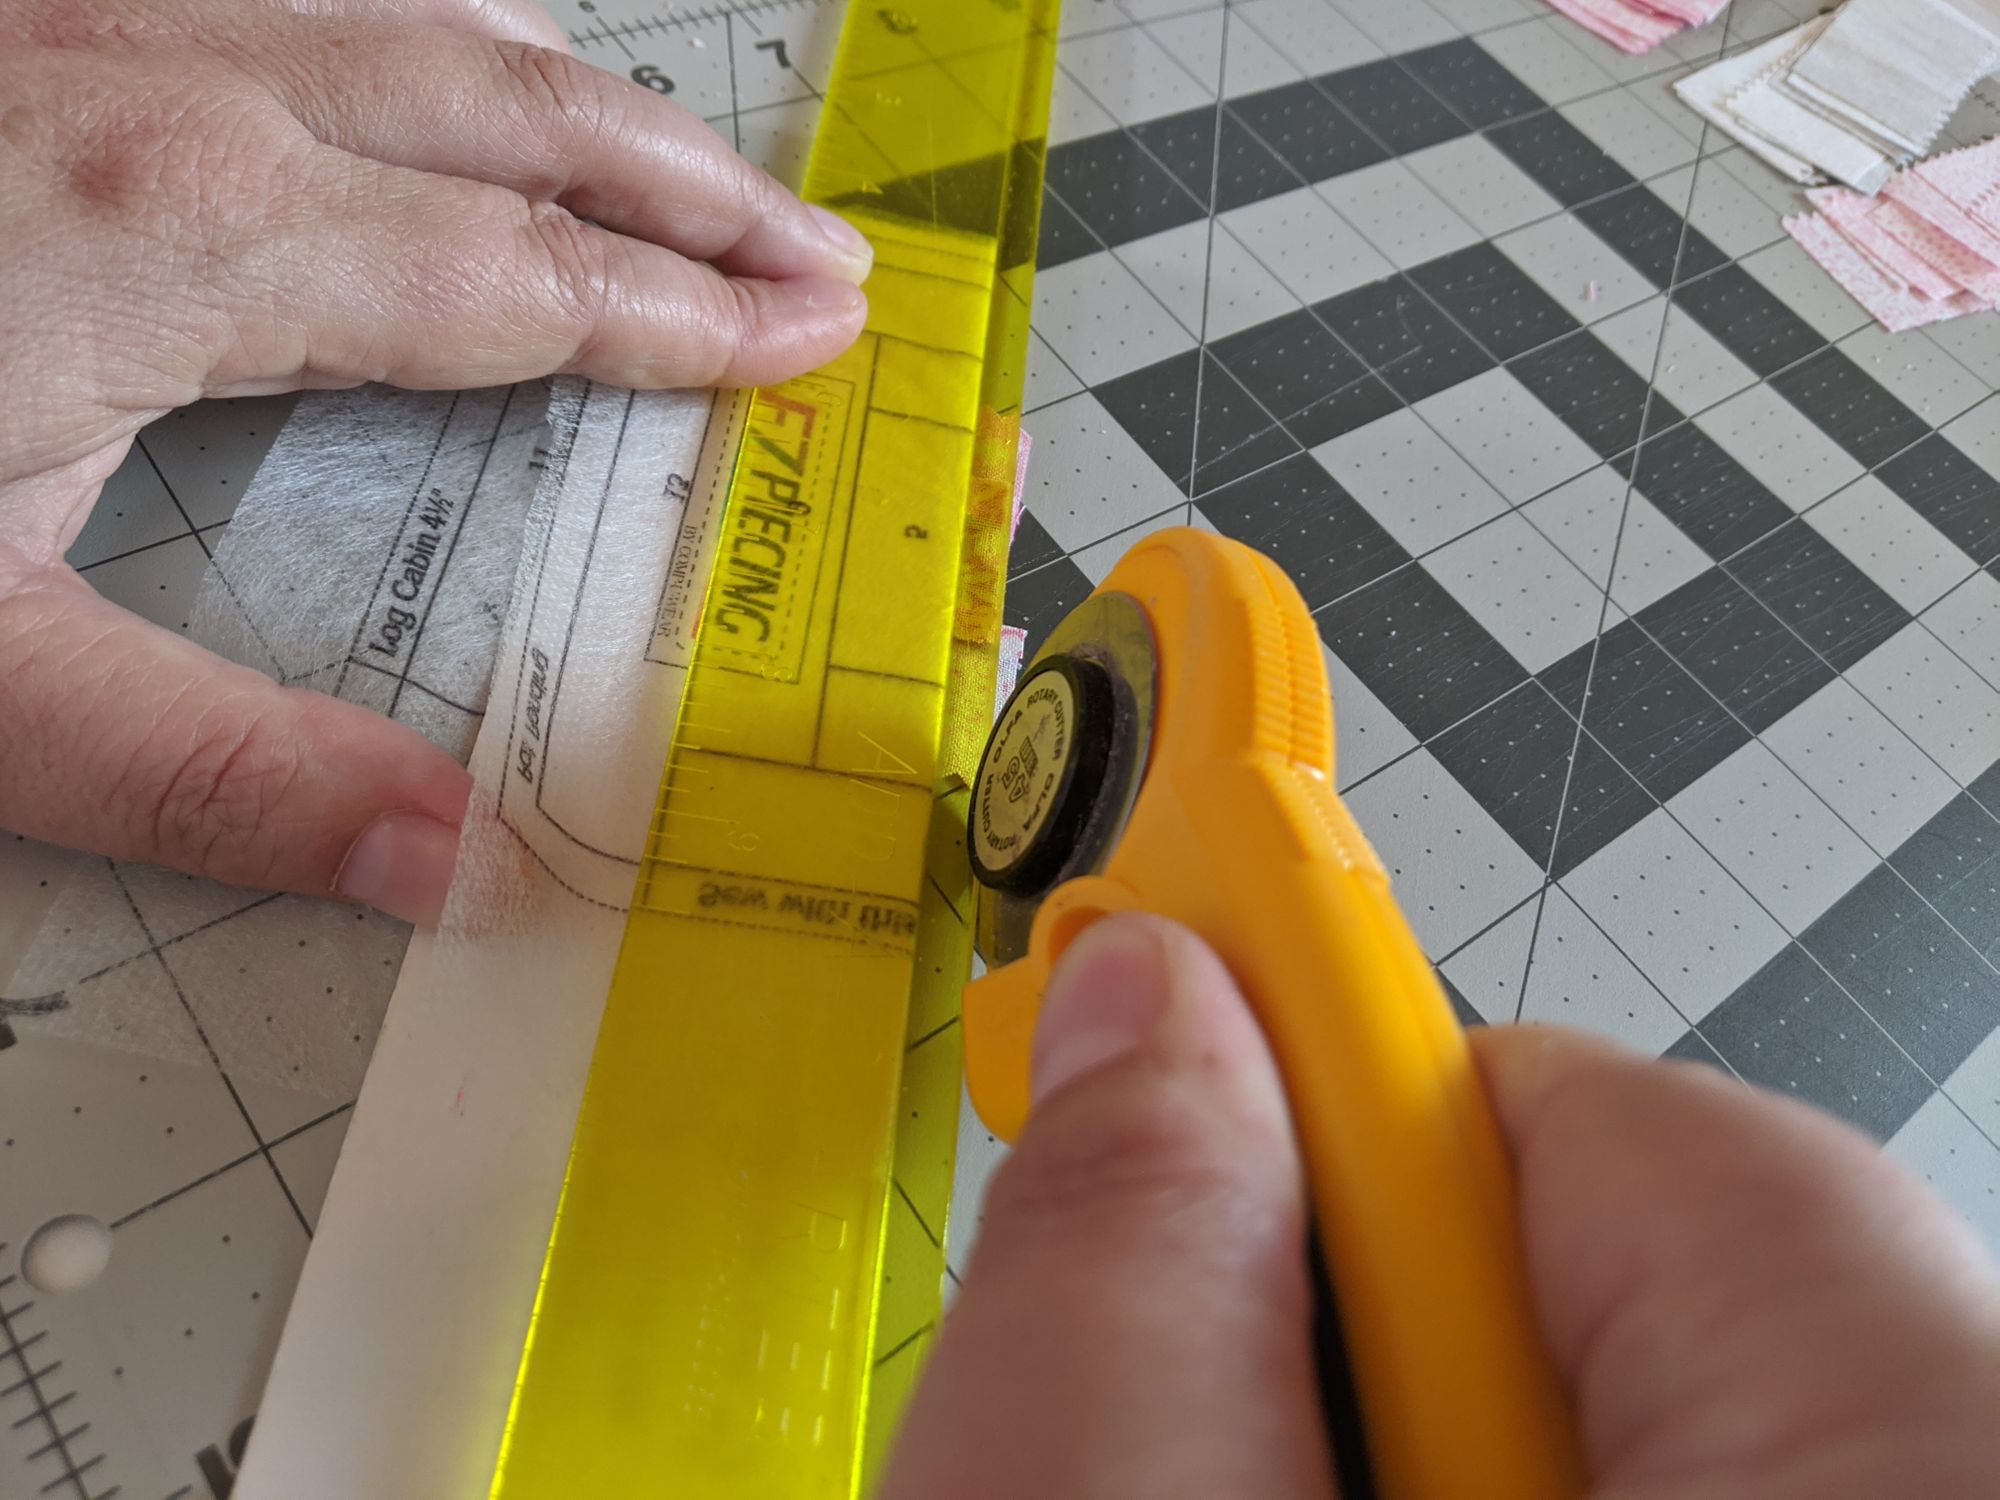
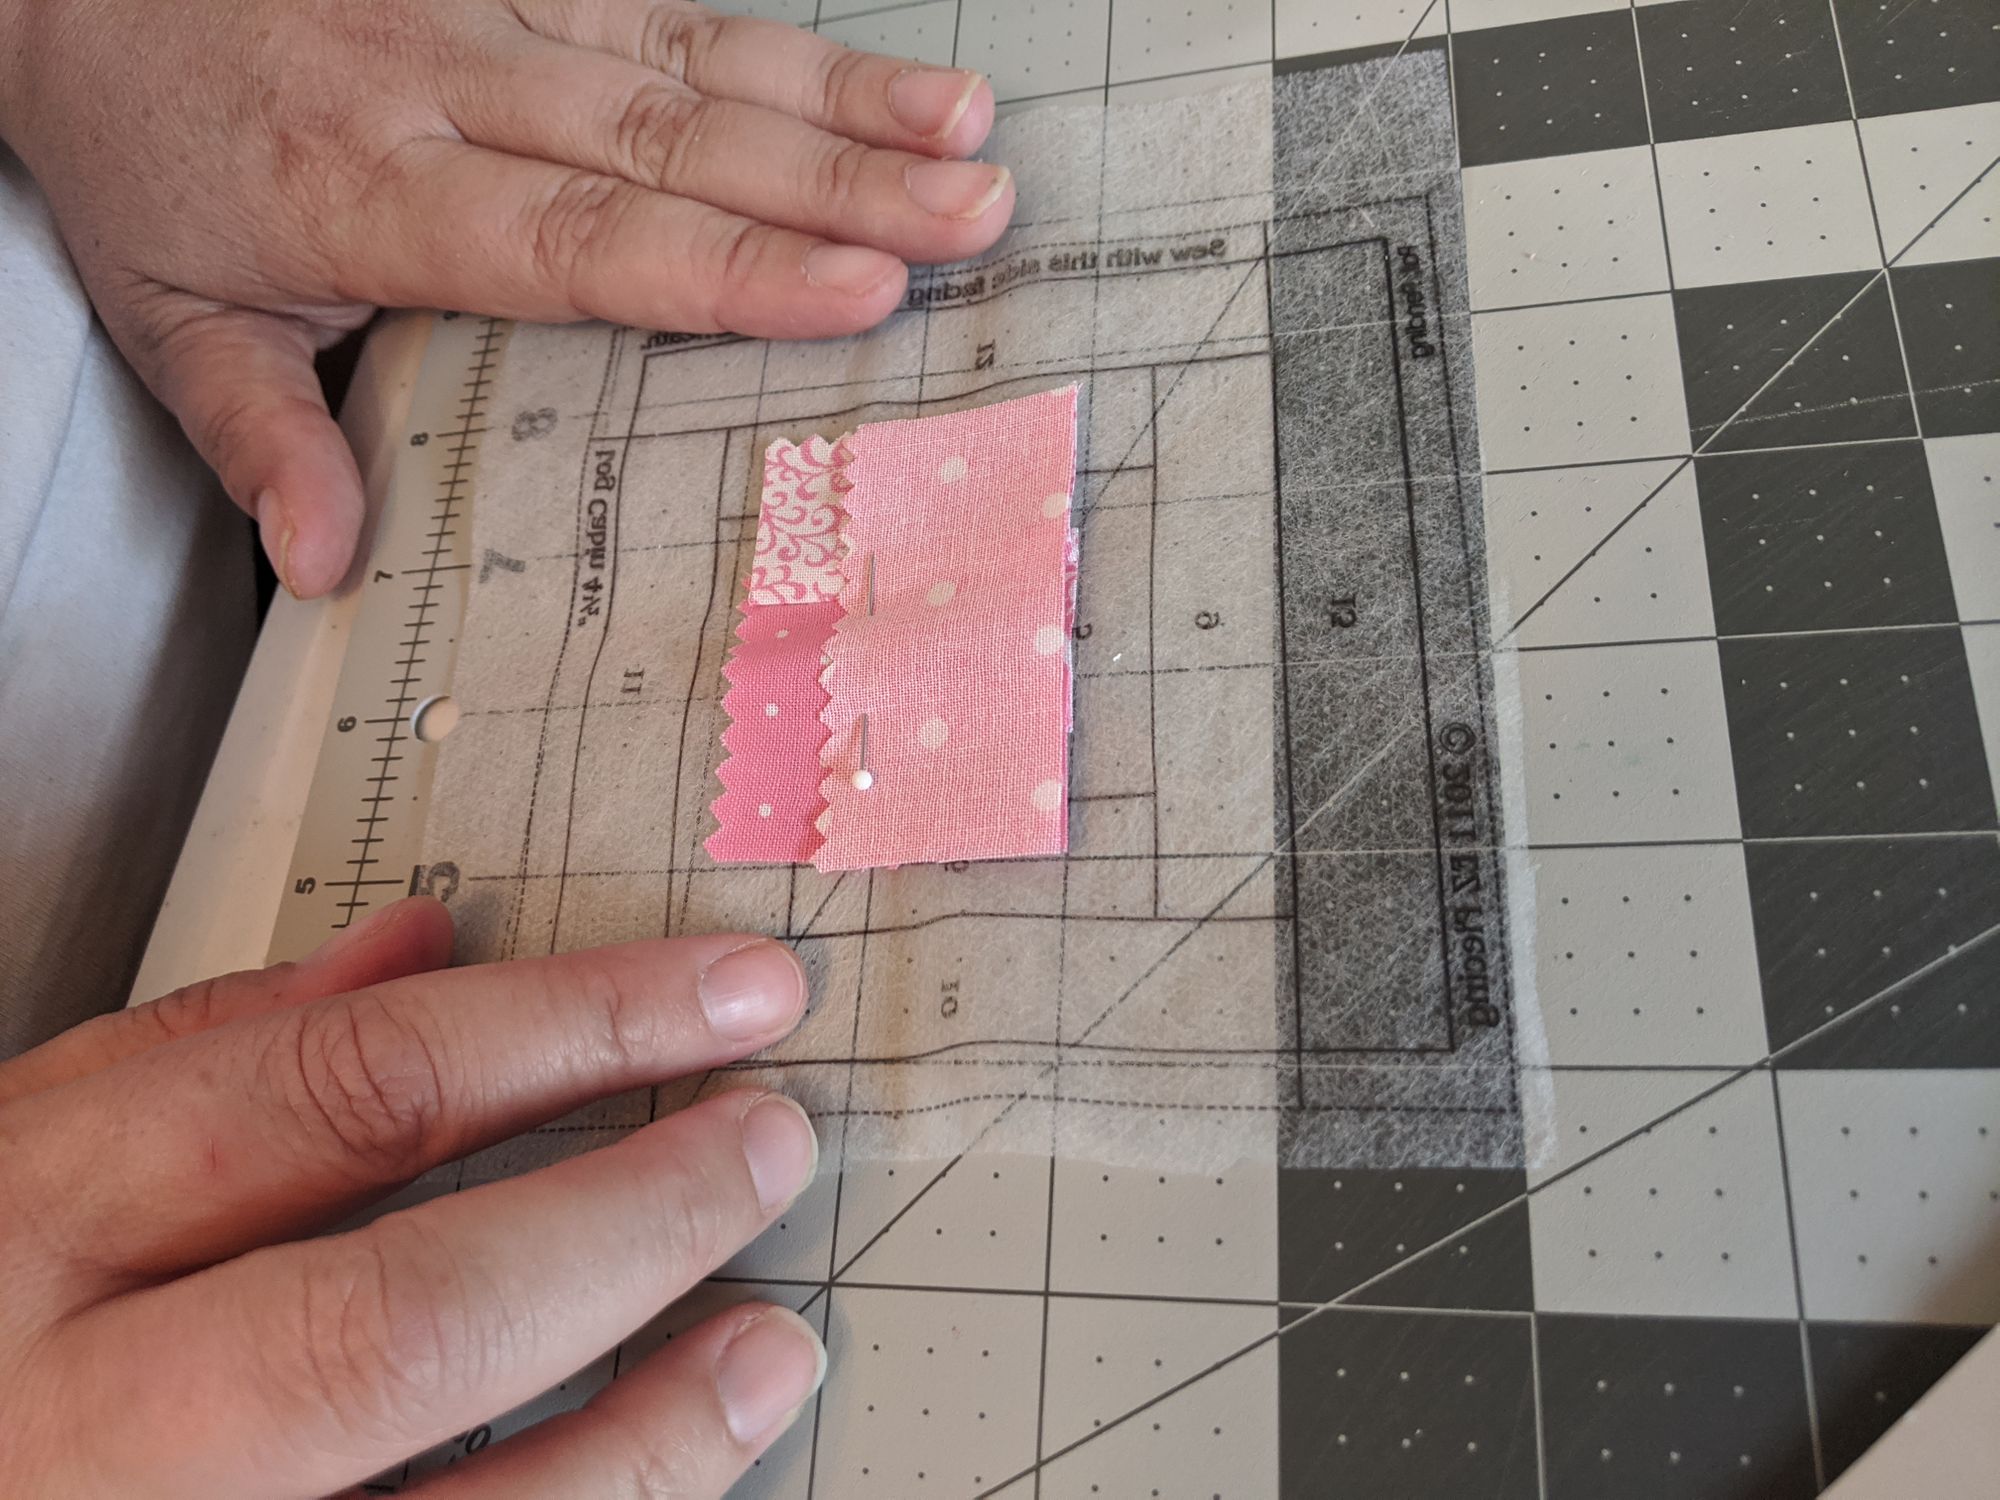
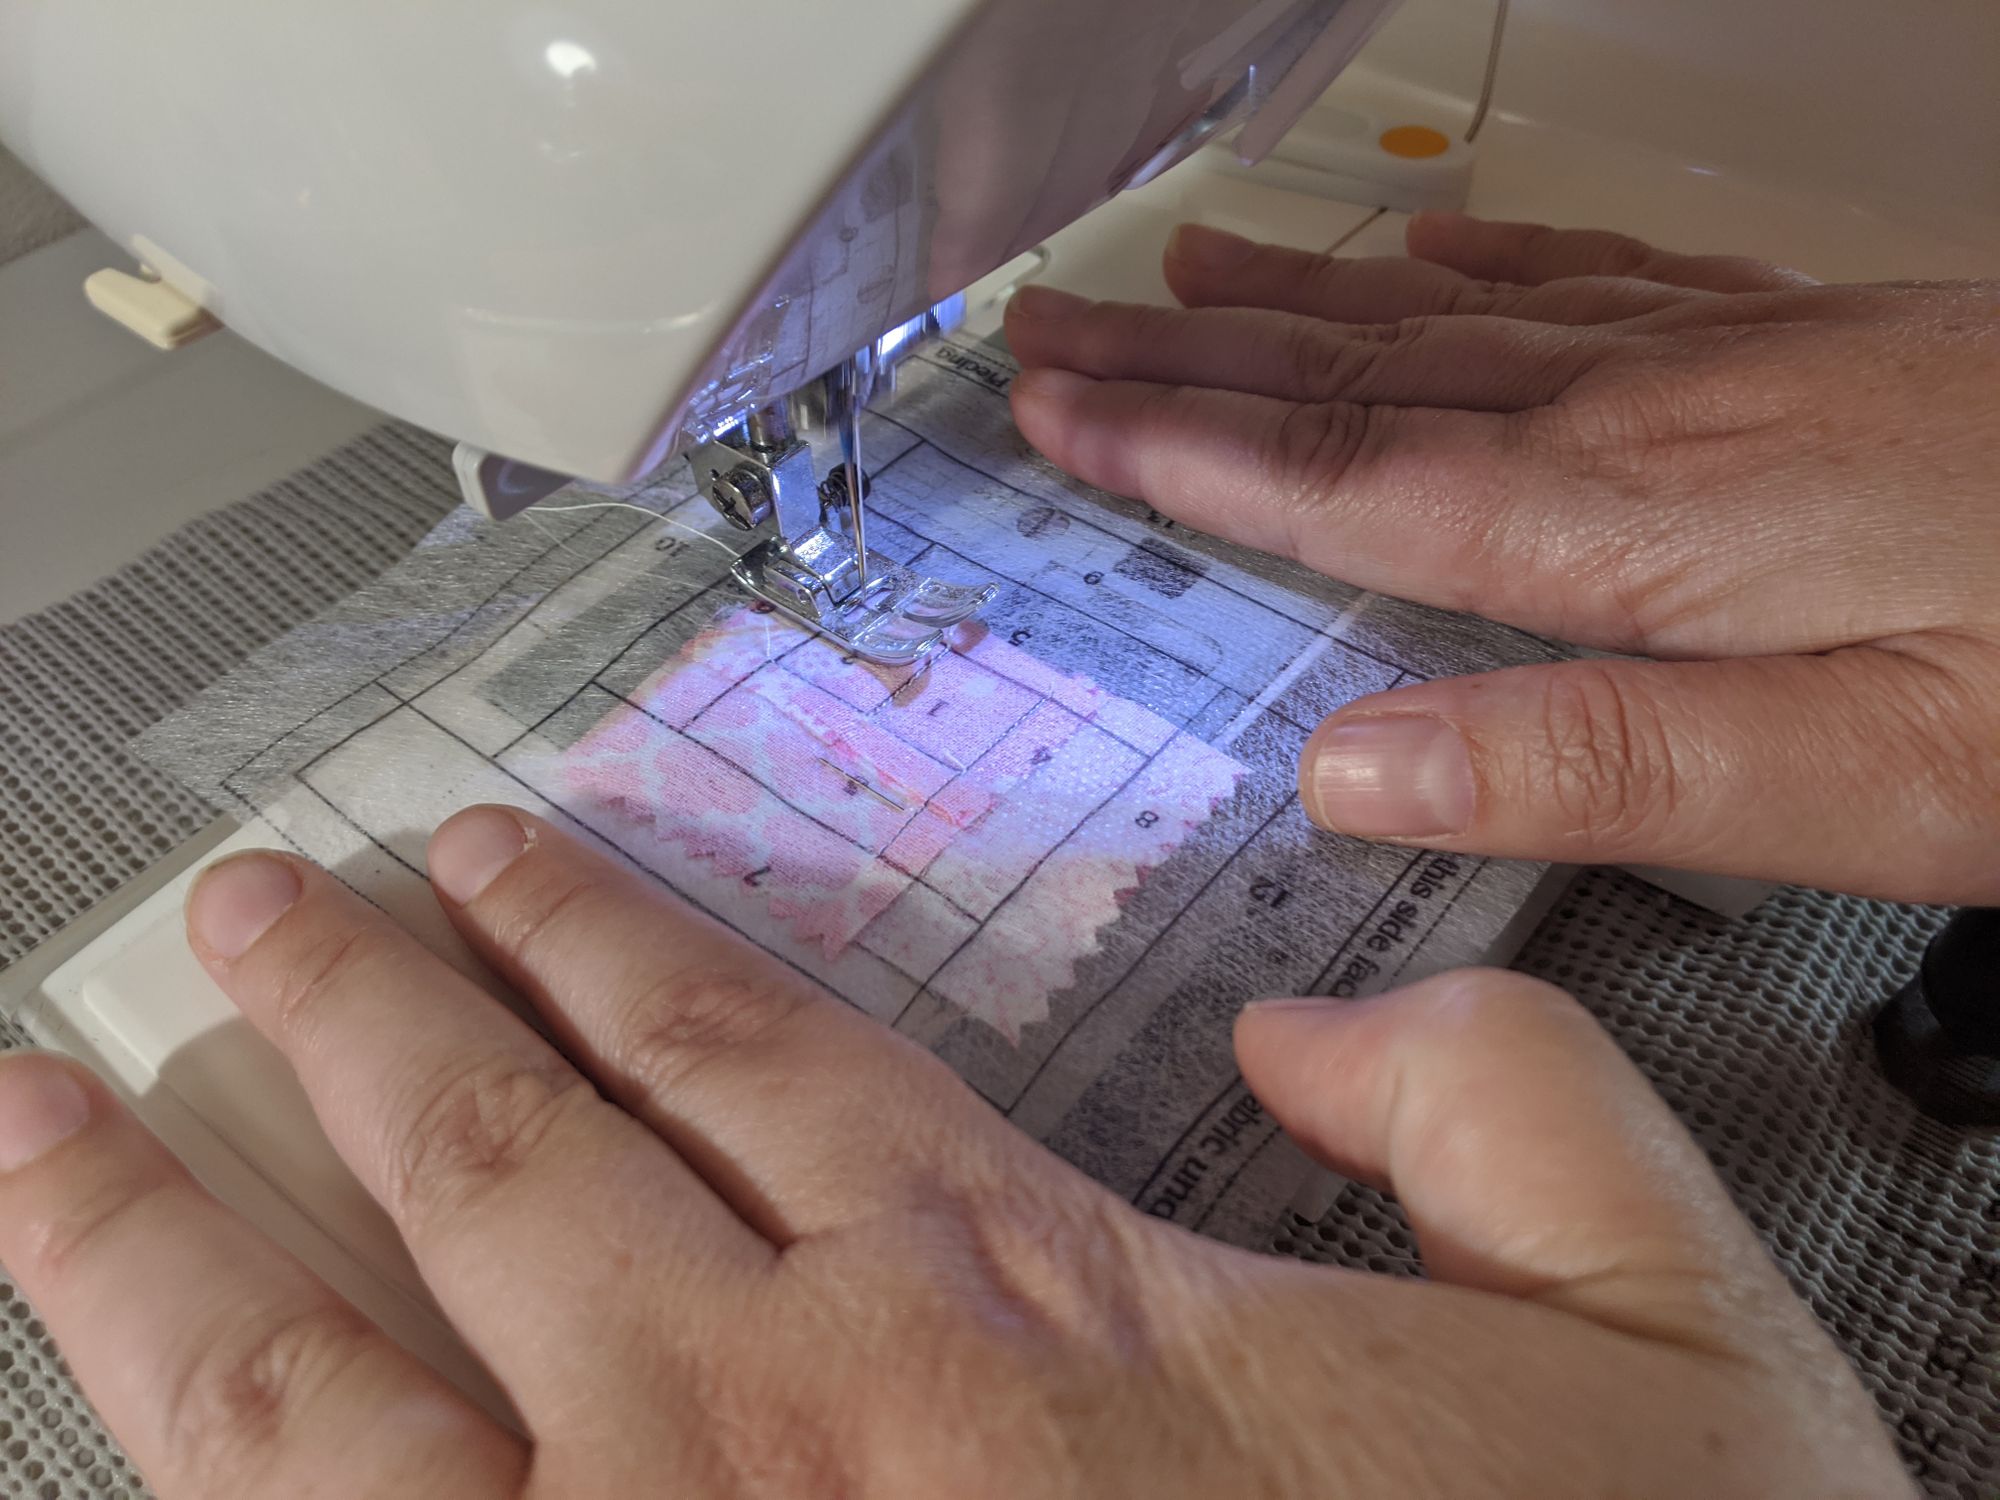
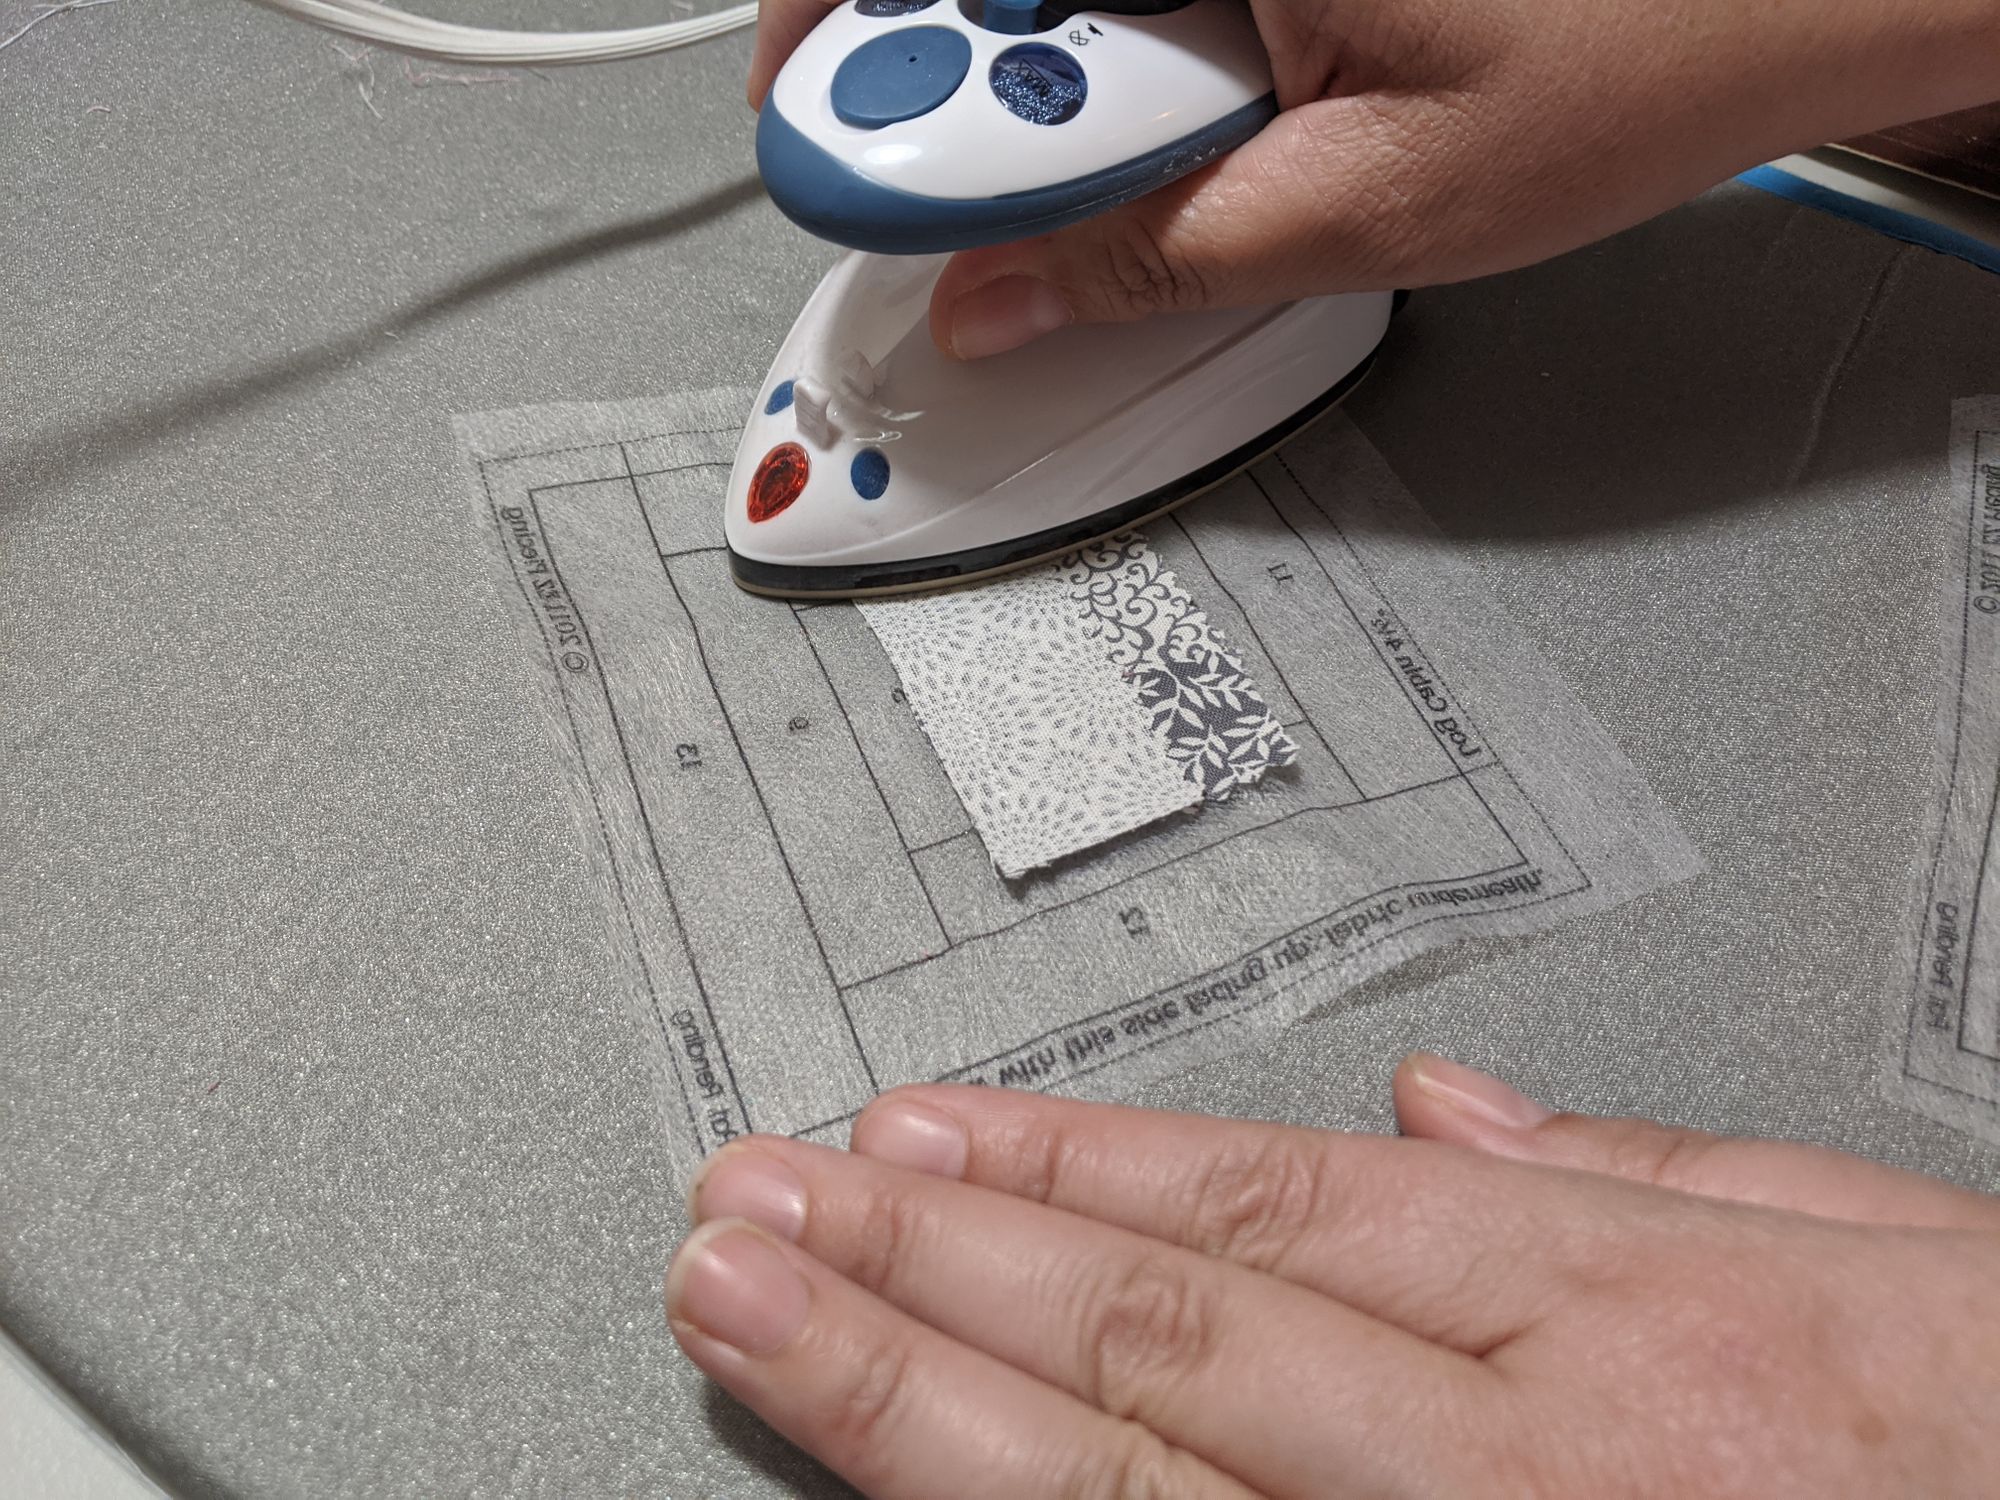
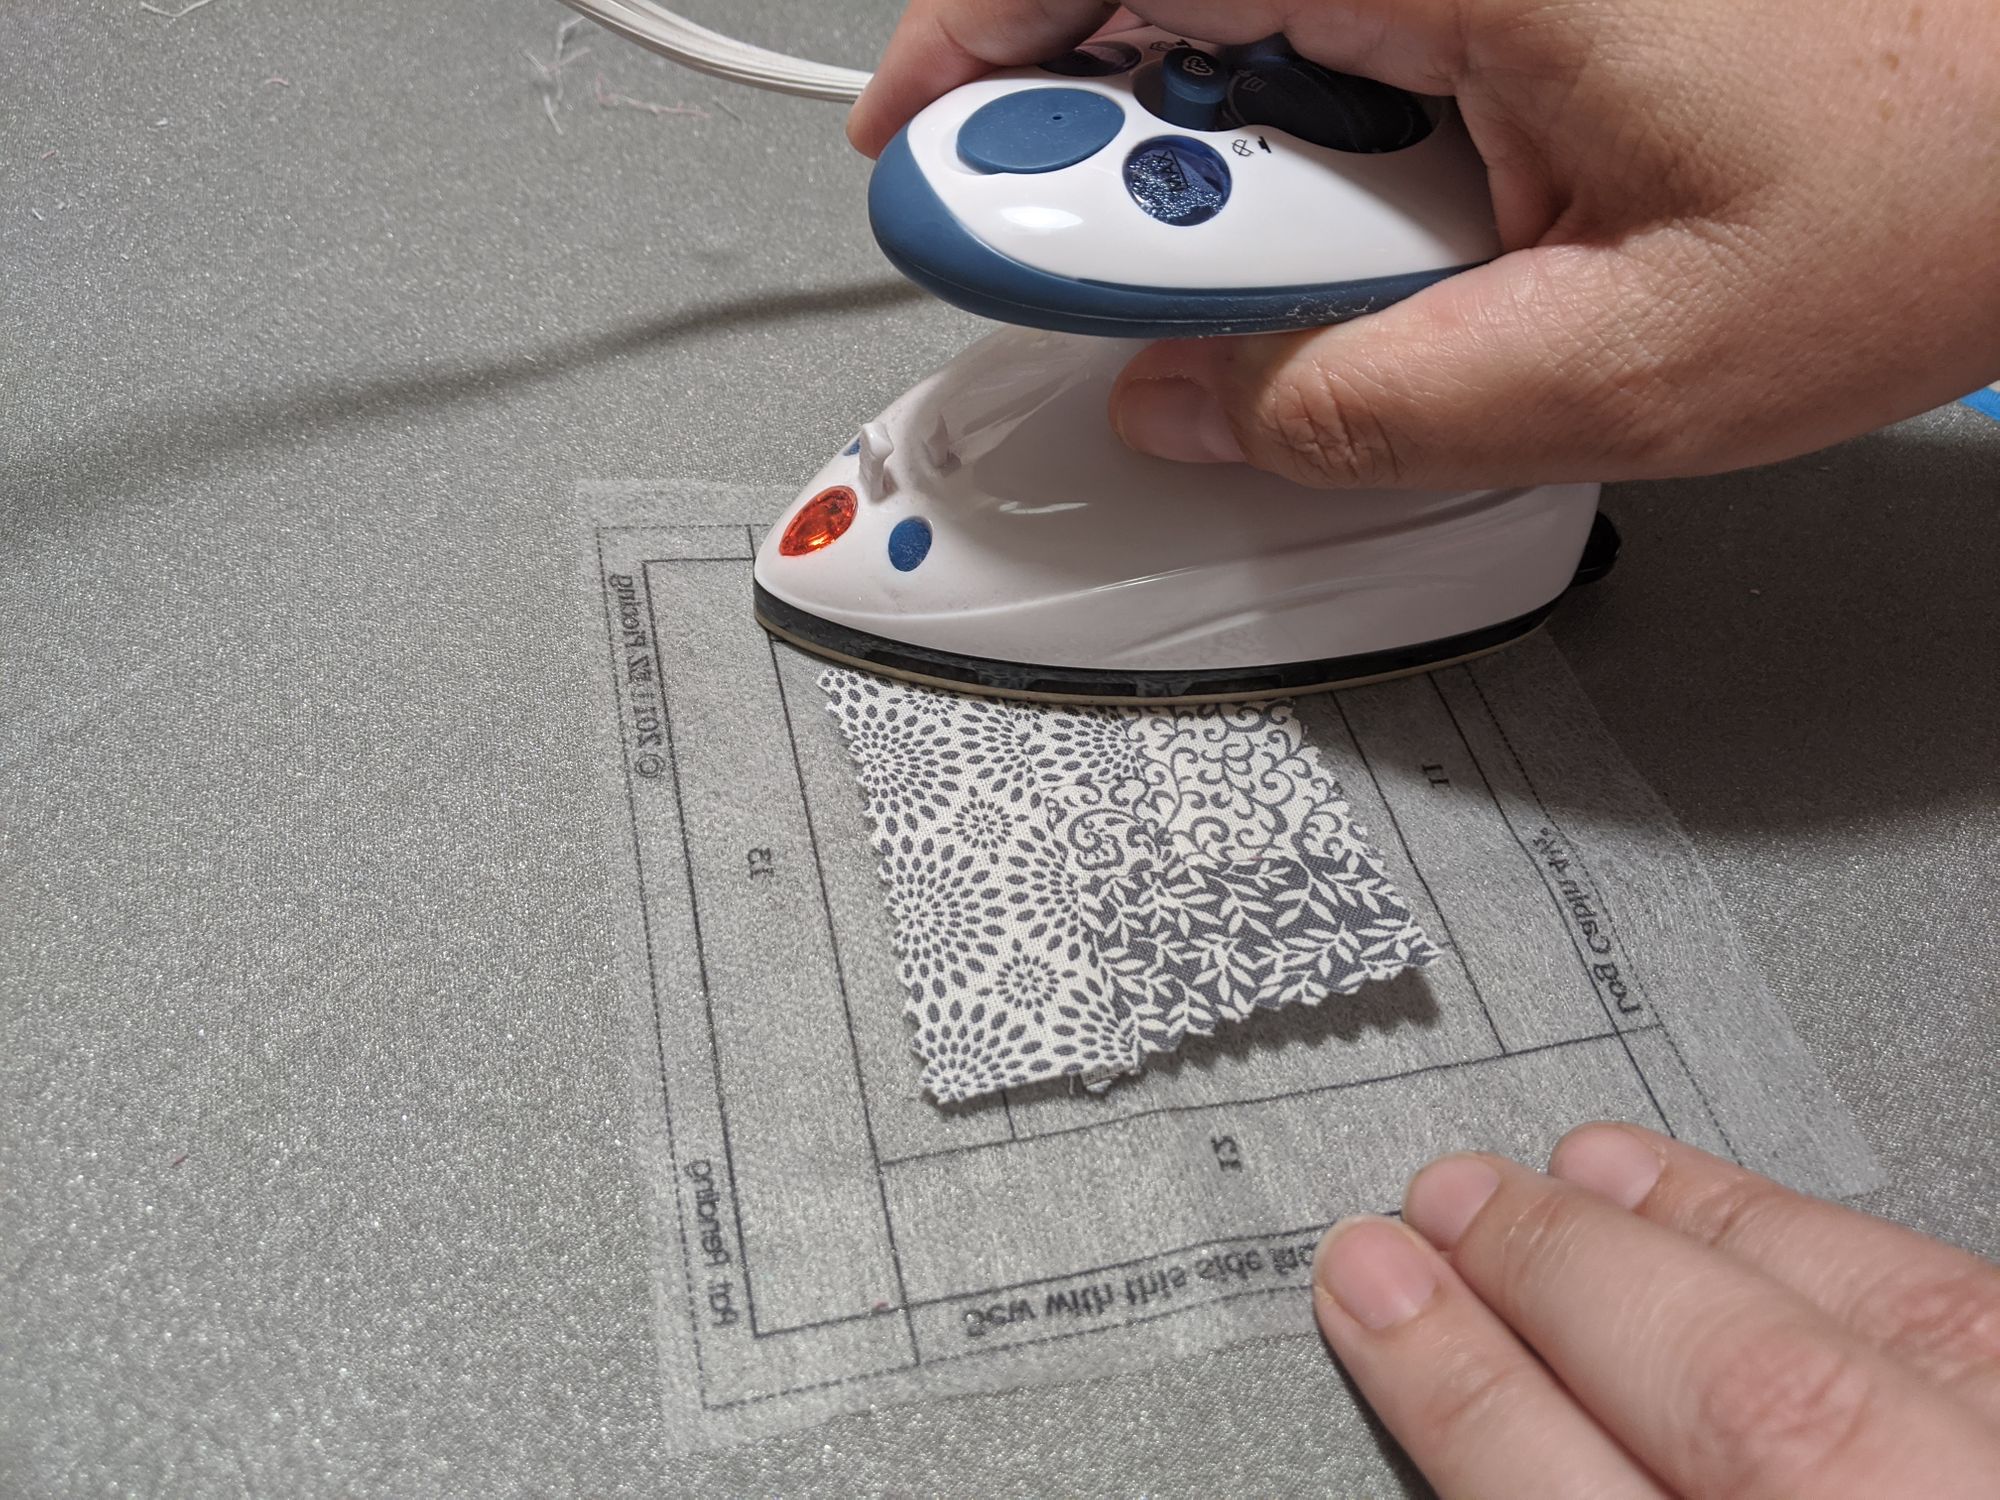
Before long I had a few blocks complete.
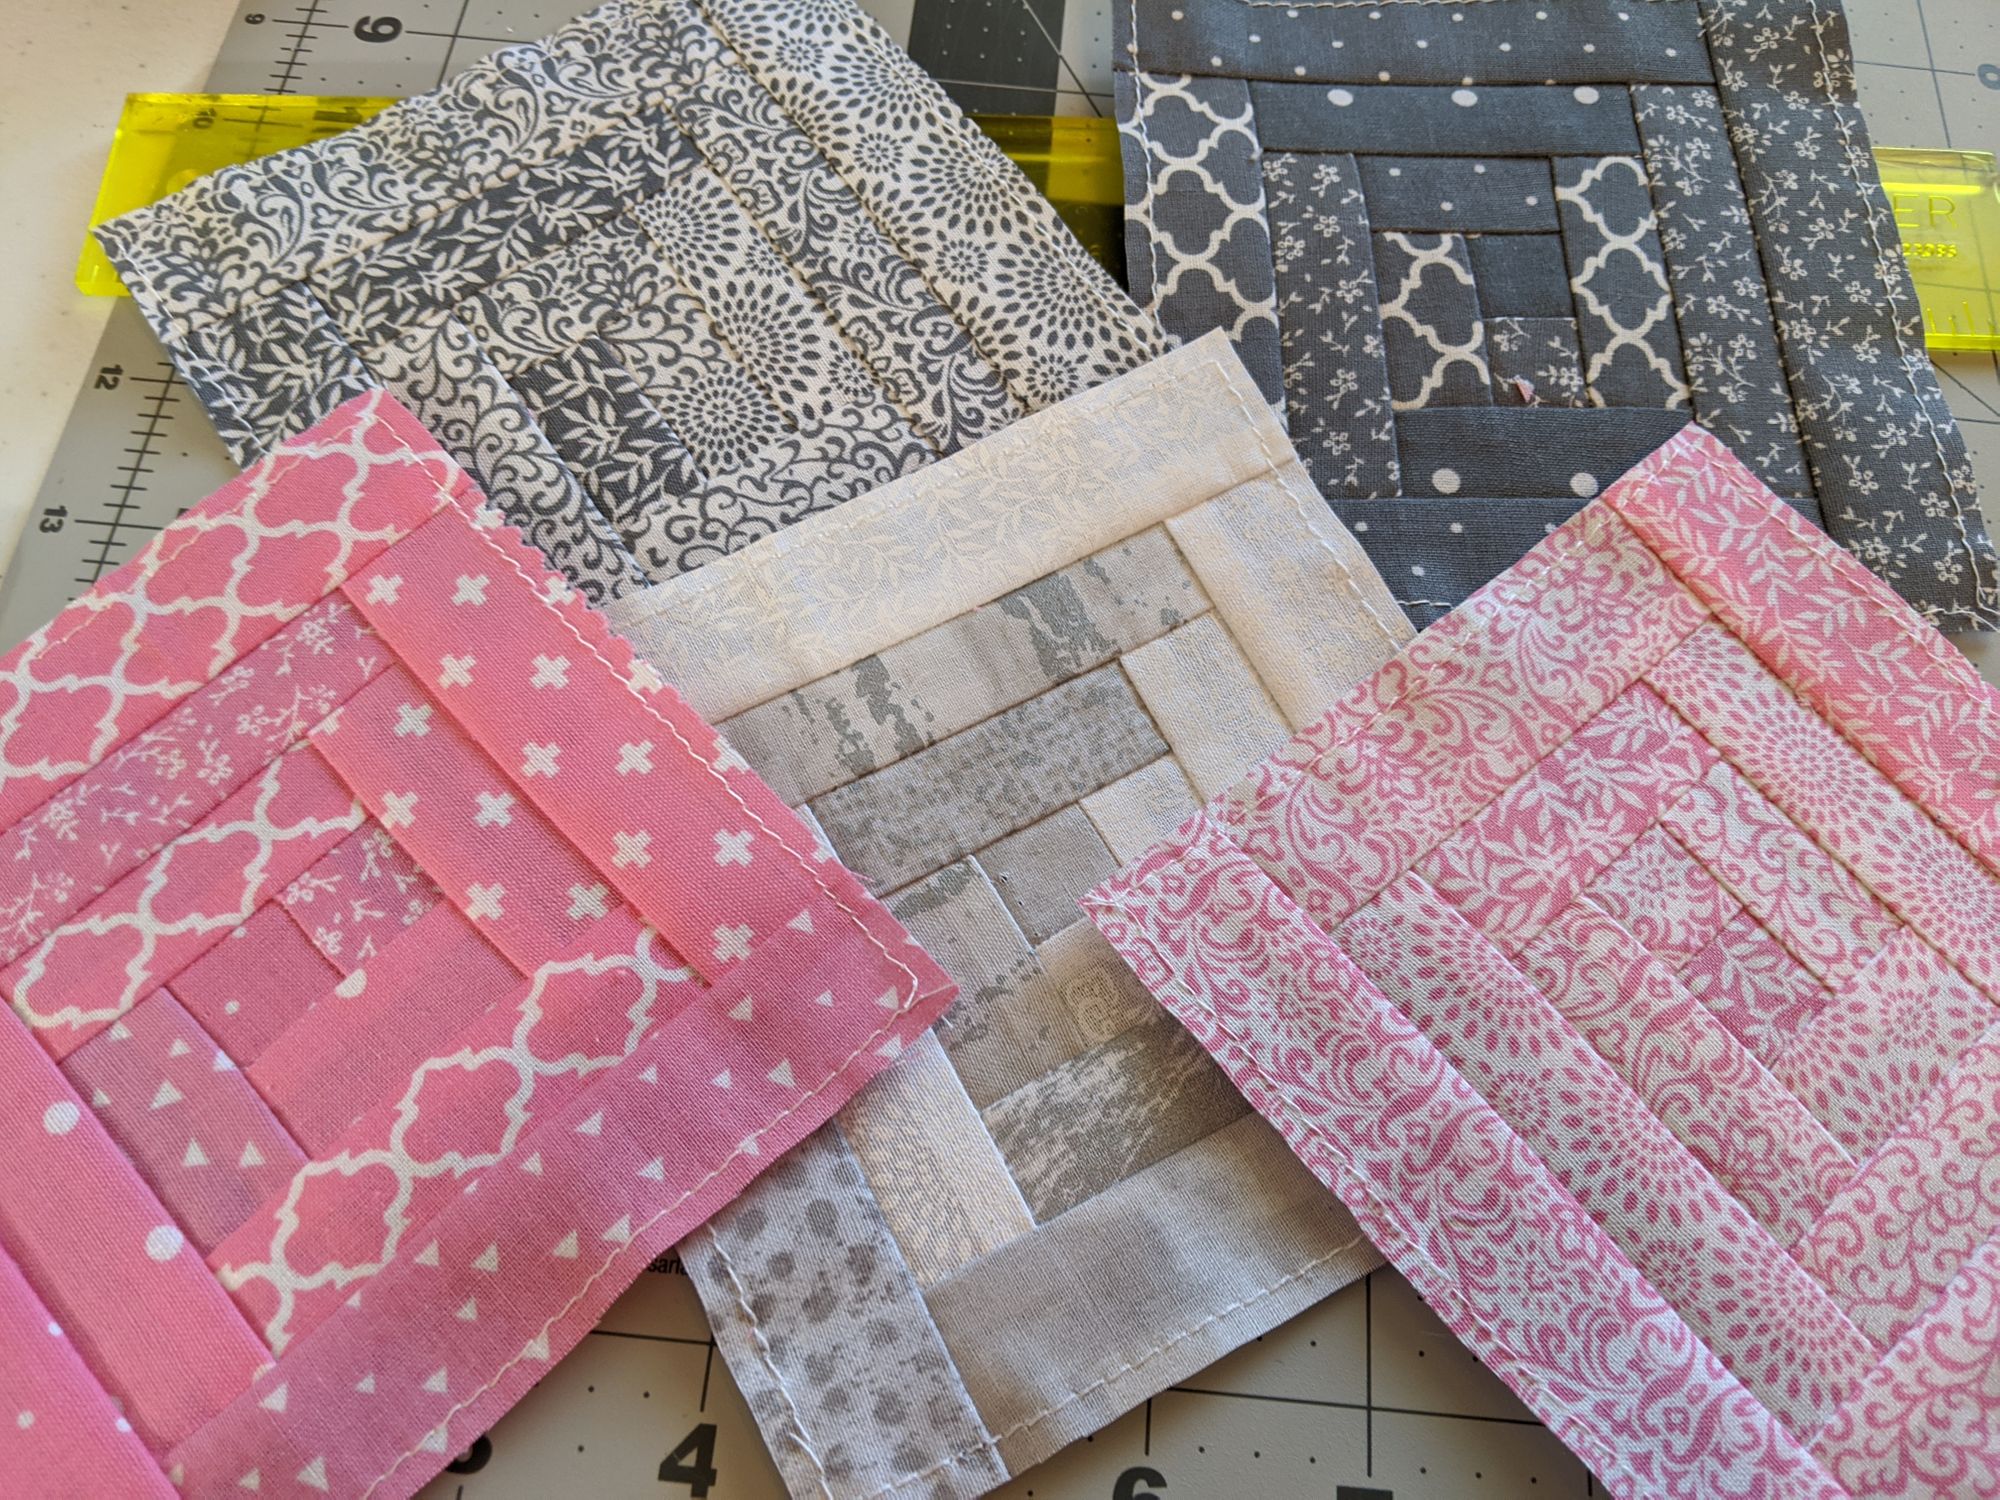
And before long, I had a lot more done.
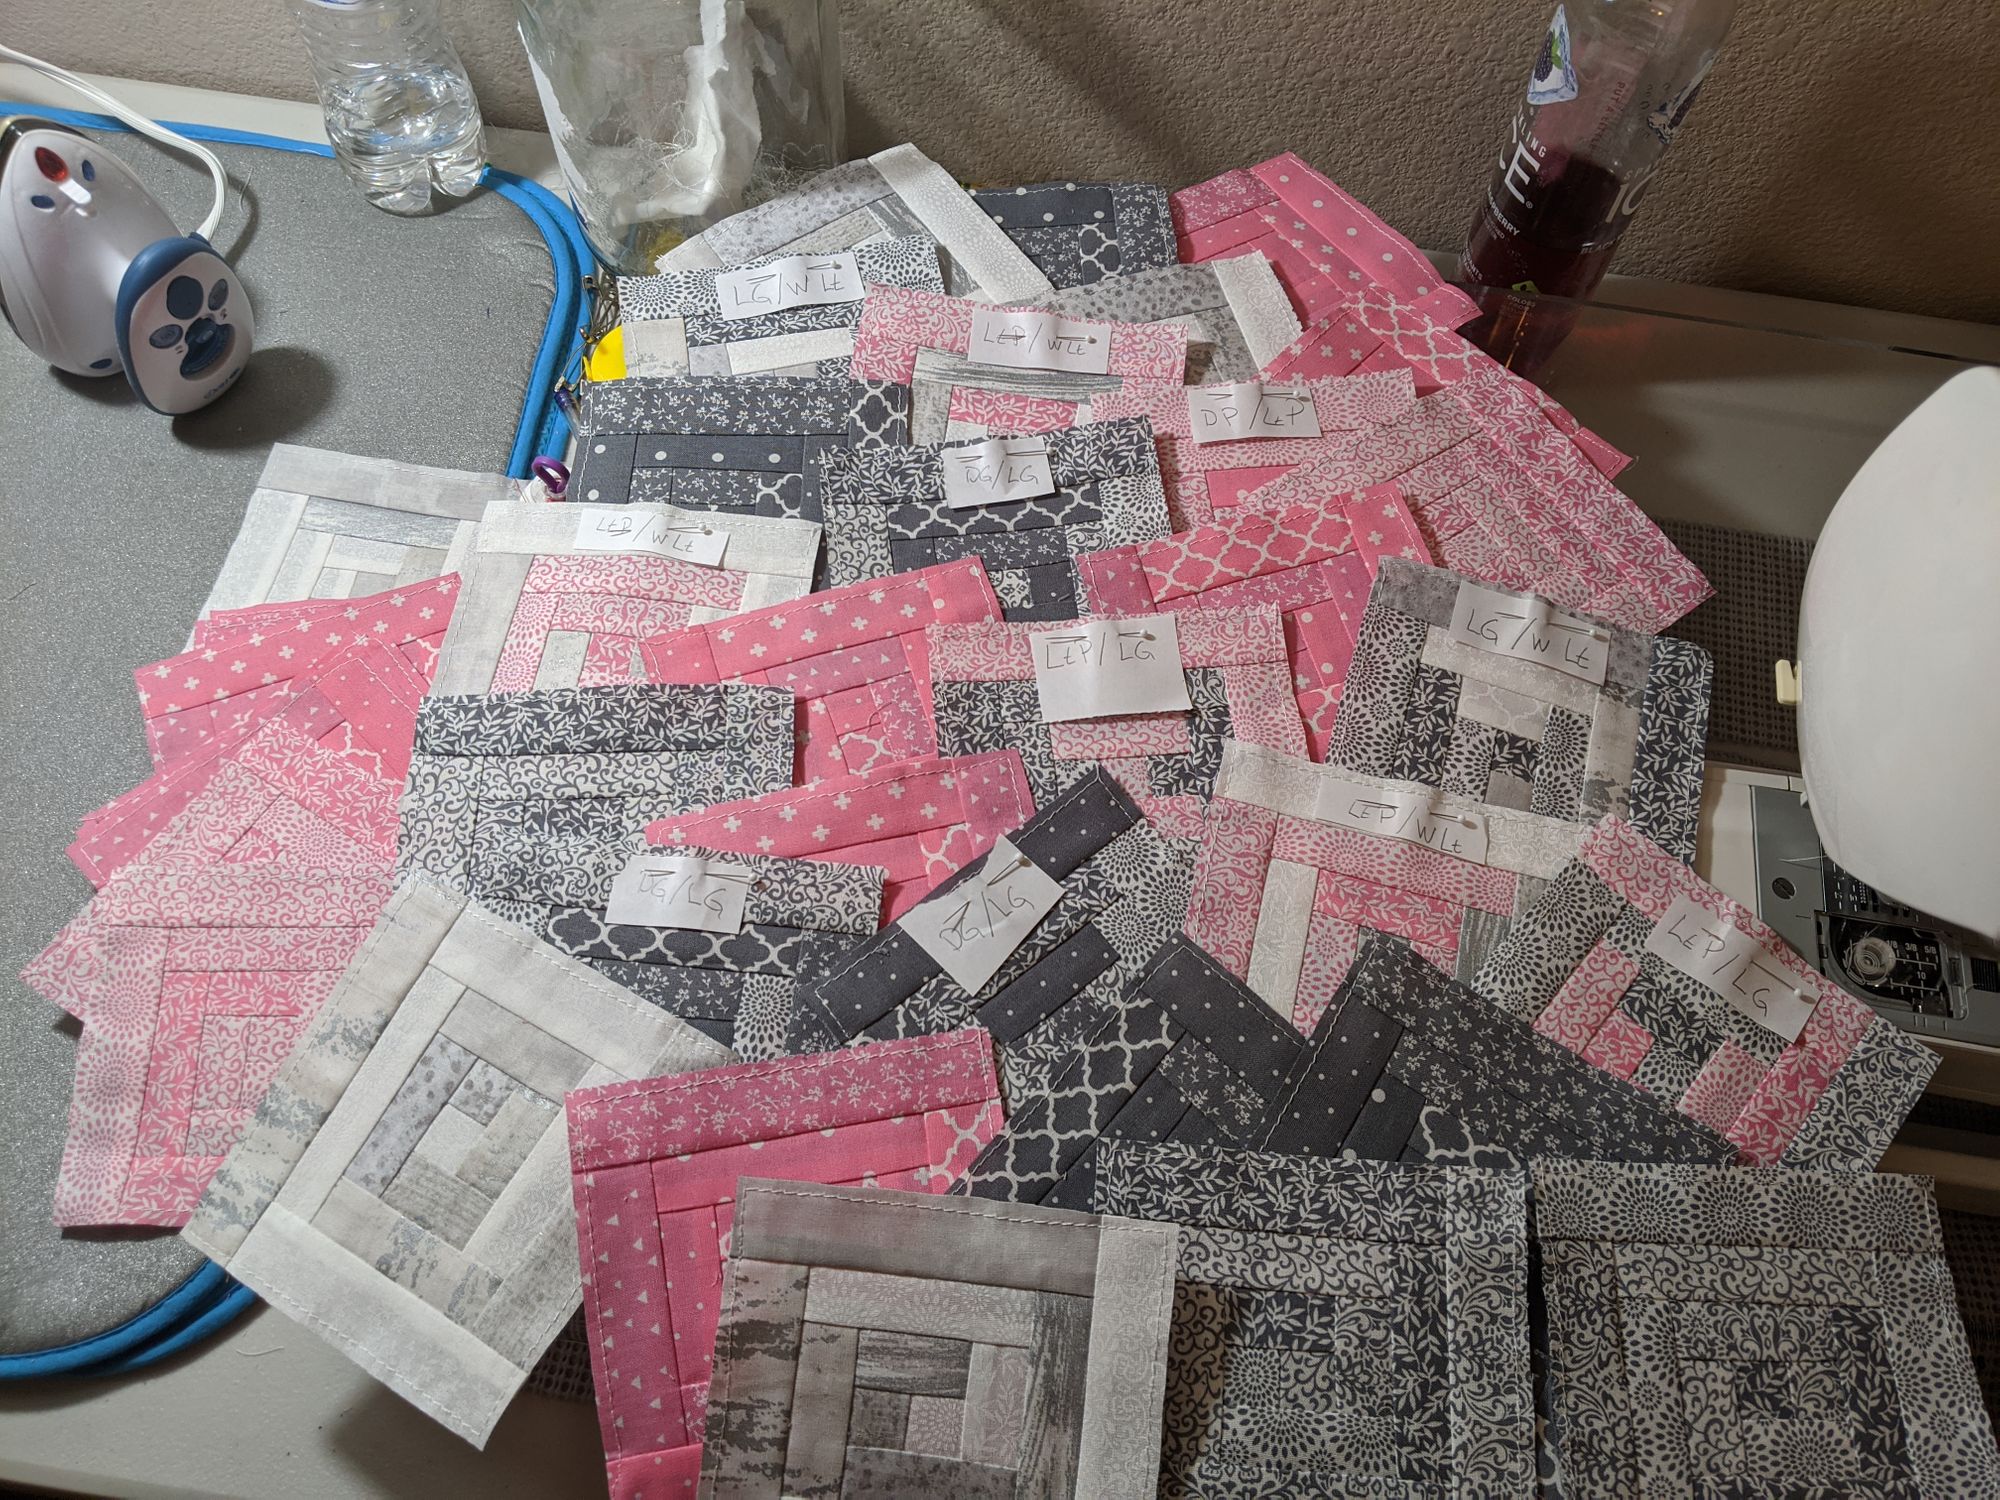
So, if you're wondering why there's little notes pinned to some, it's so these new color combinations will be easily placed in the greater scheme, because some of the Gemstone fabric kit blocks are "combo" blocks of two different color schemes, such as "light pink and light grey" - or, in the case of these notes, "LP/LG."
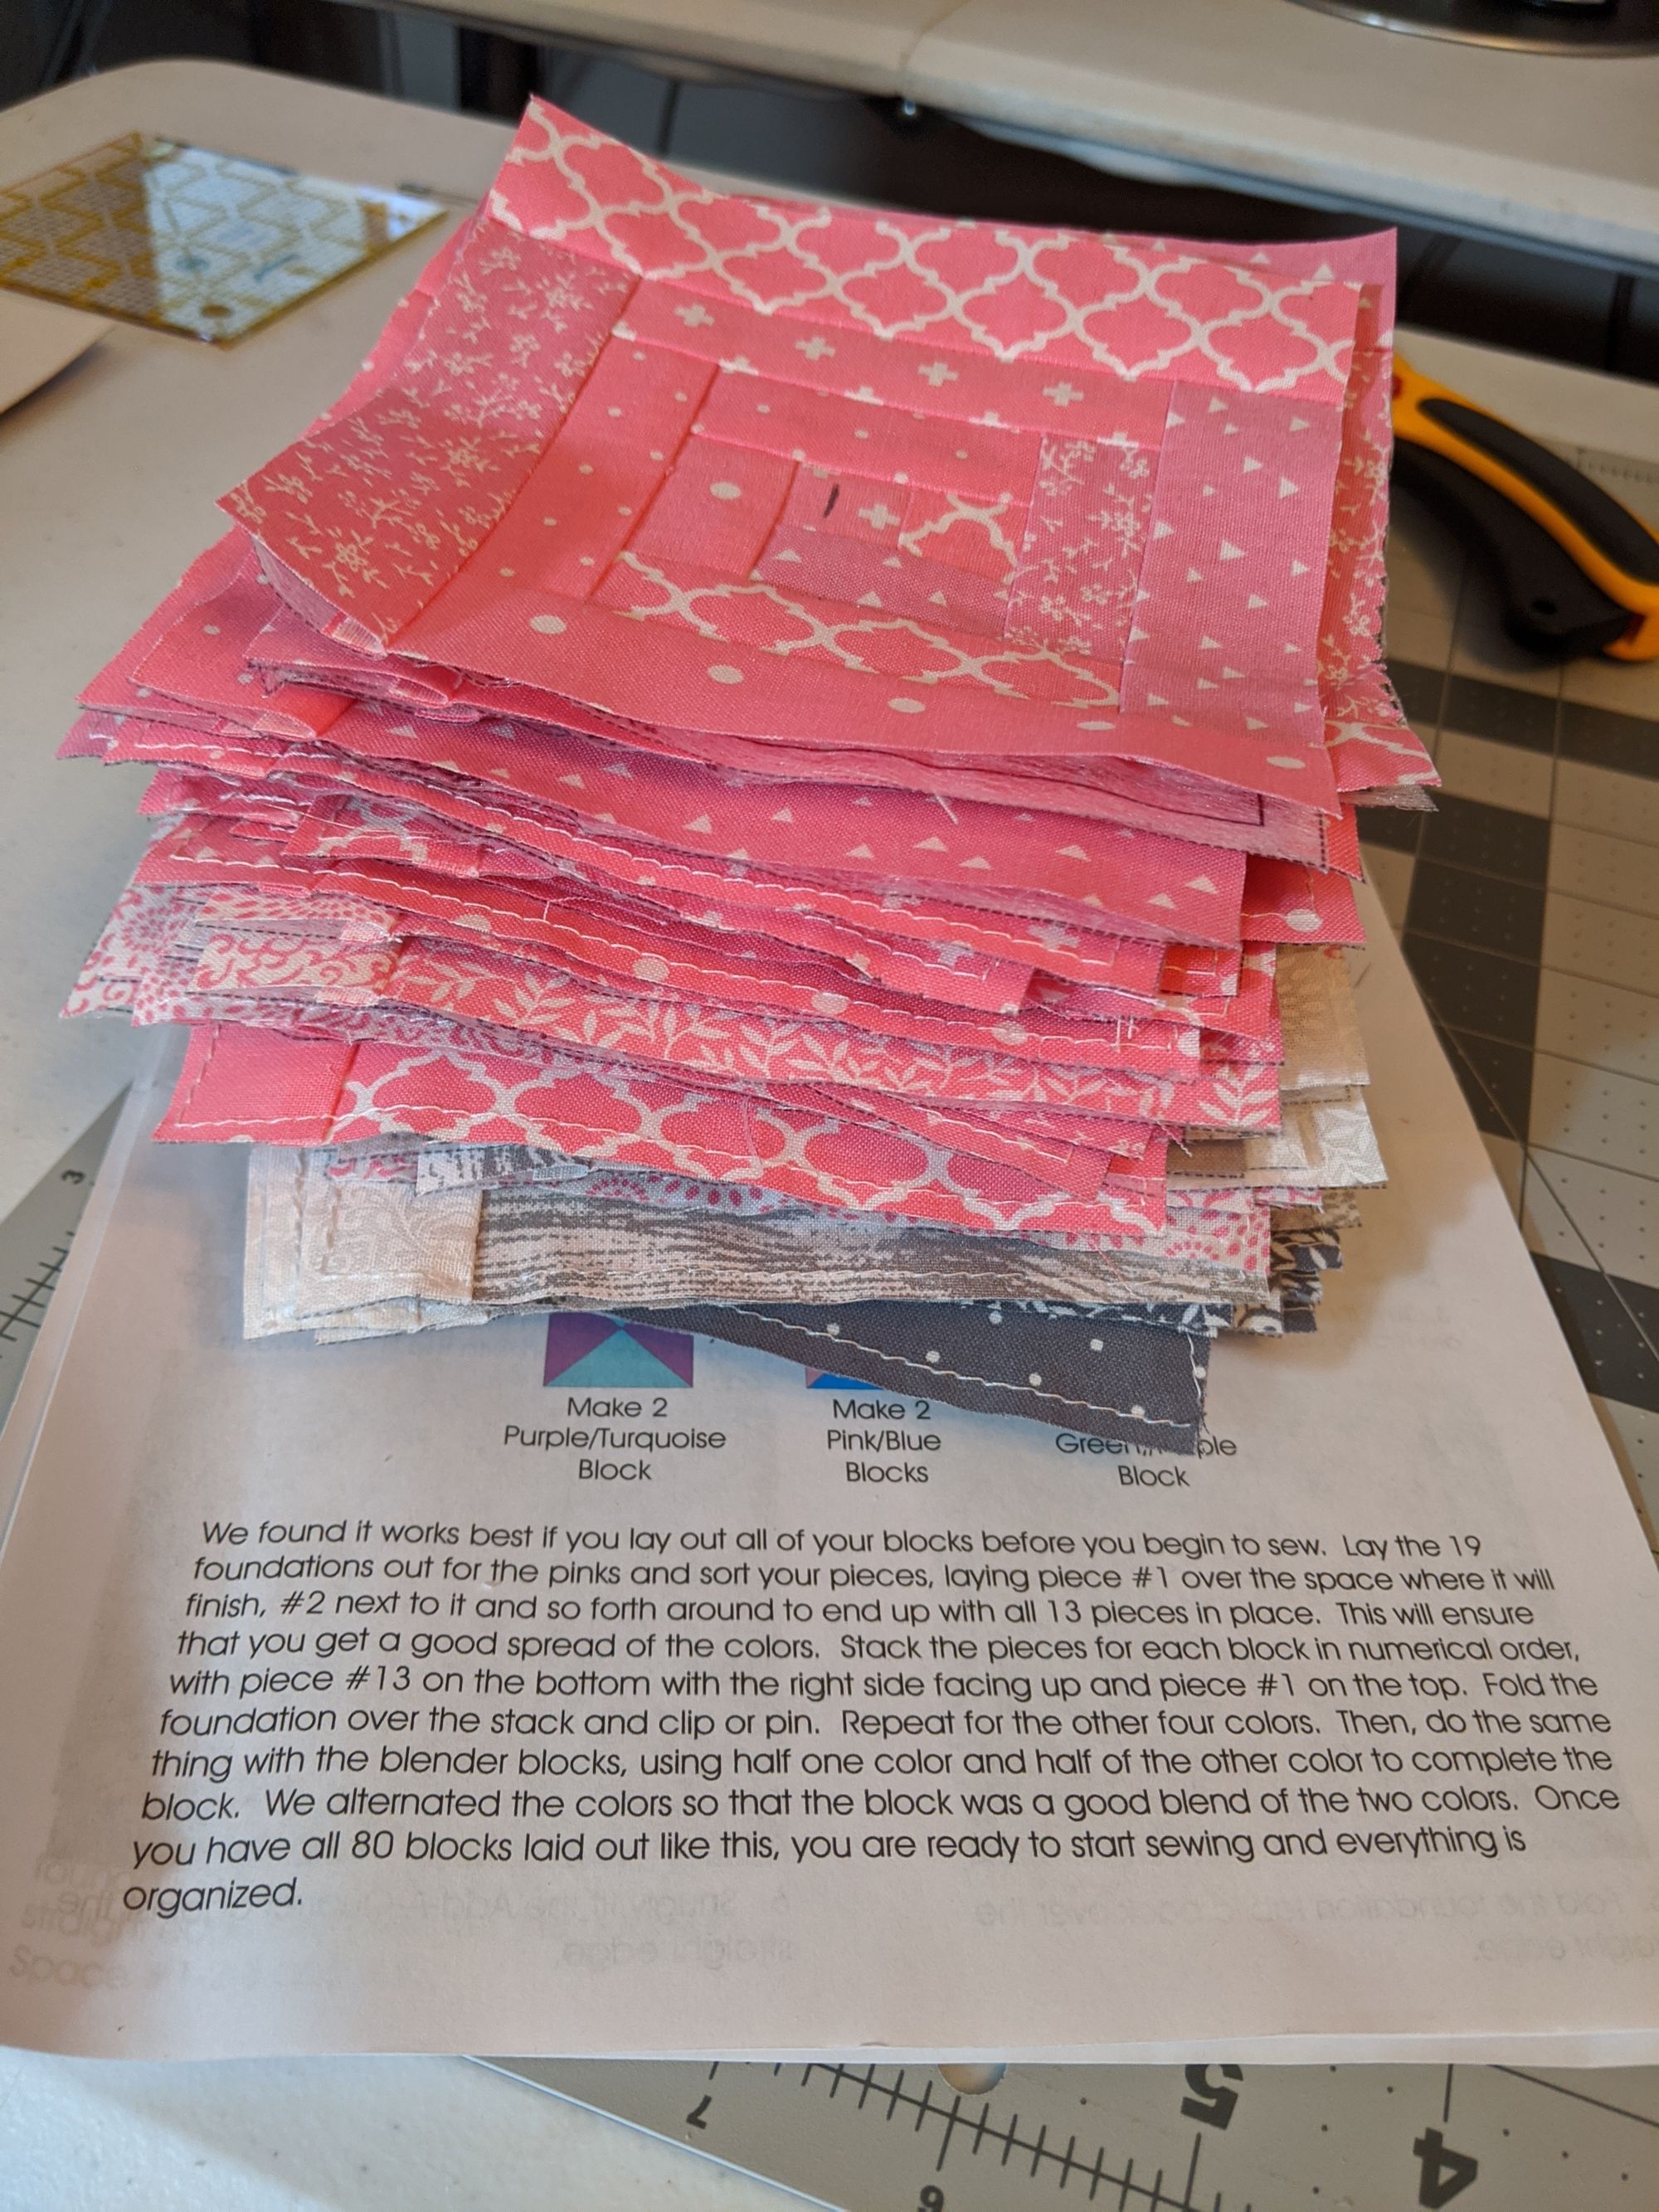
After a few weeks of casually working on this - I've got a 22 month old little boy who occupies a lot of time, and, for the holidays, had a lot of company - I managed to get all the individual blocks done.
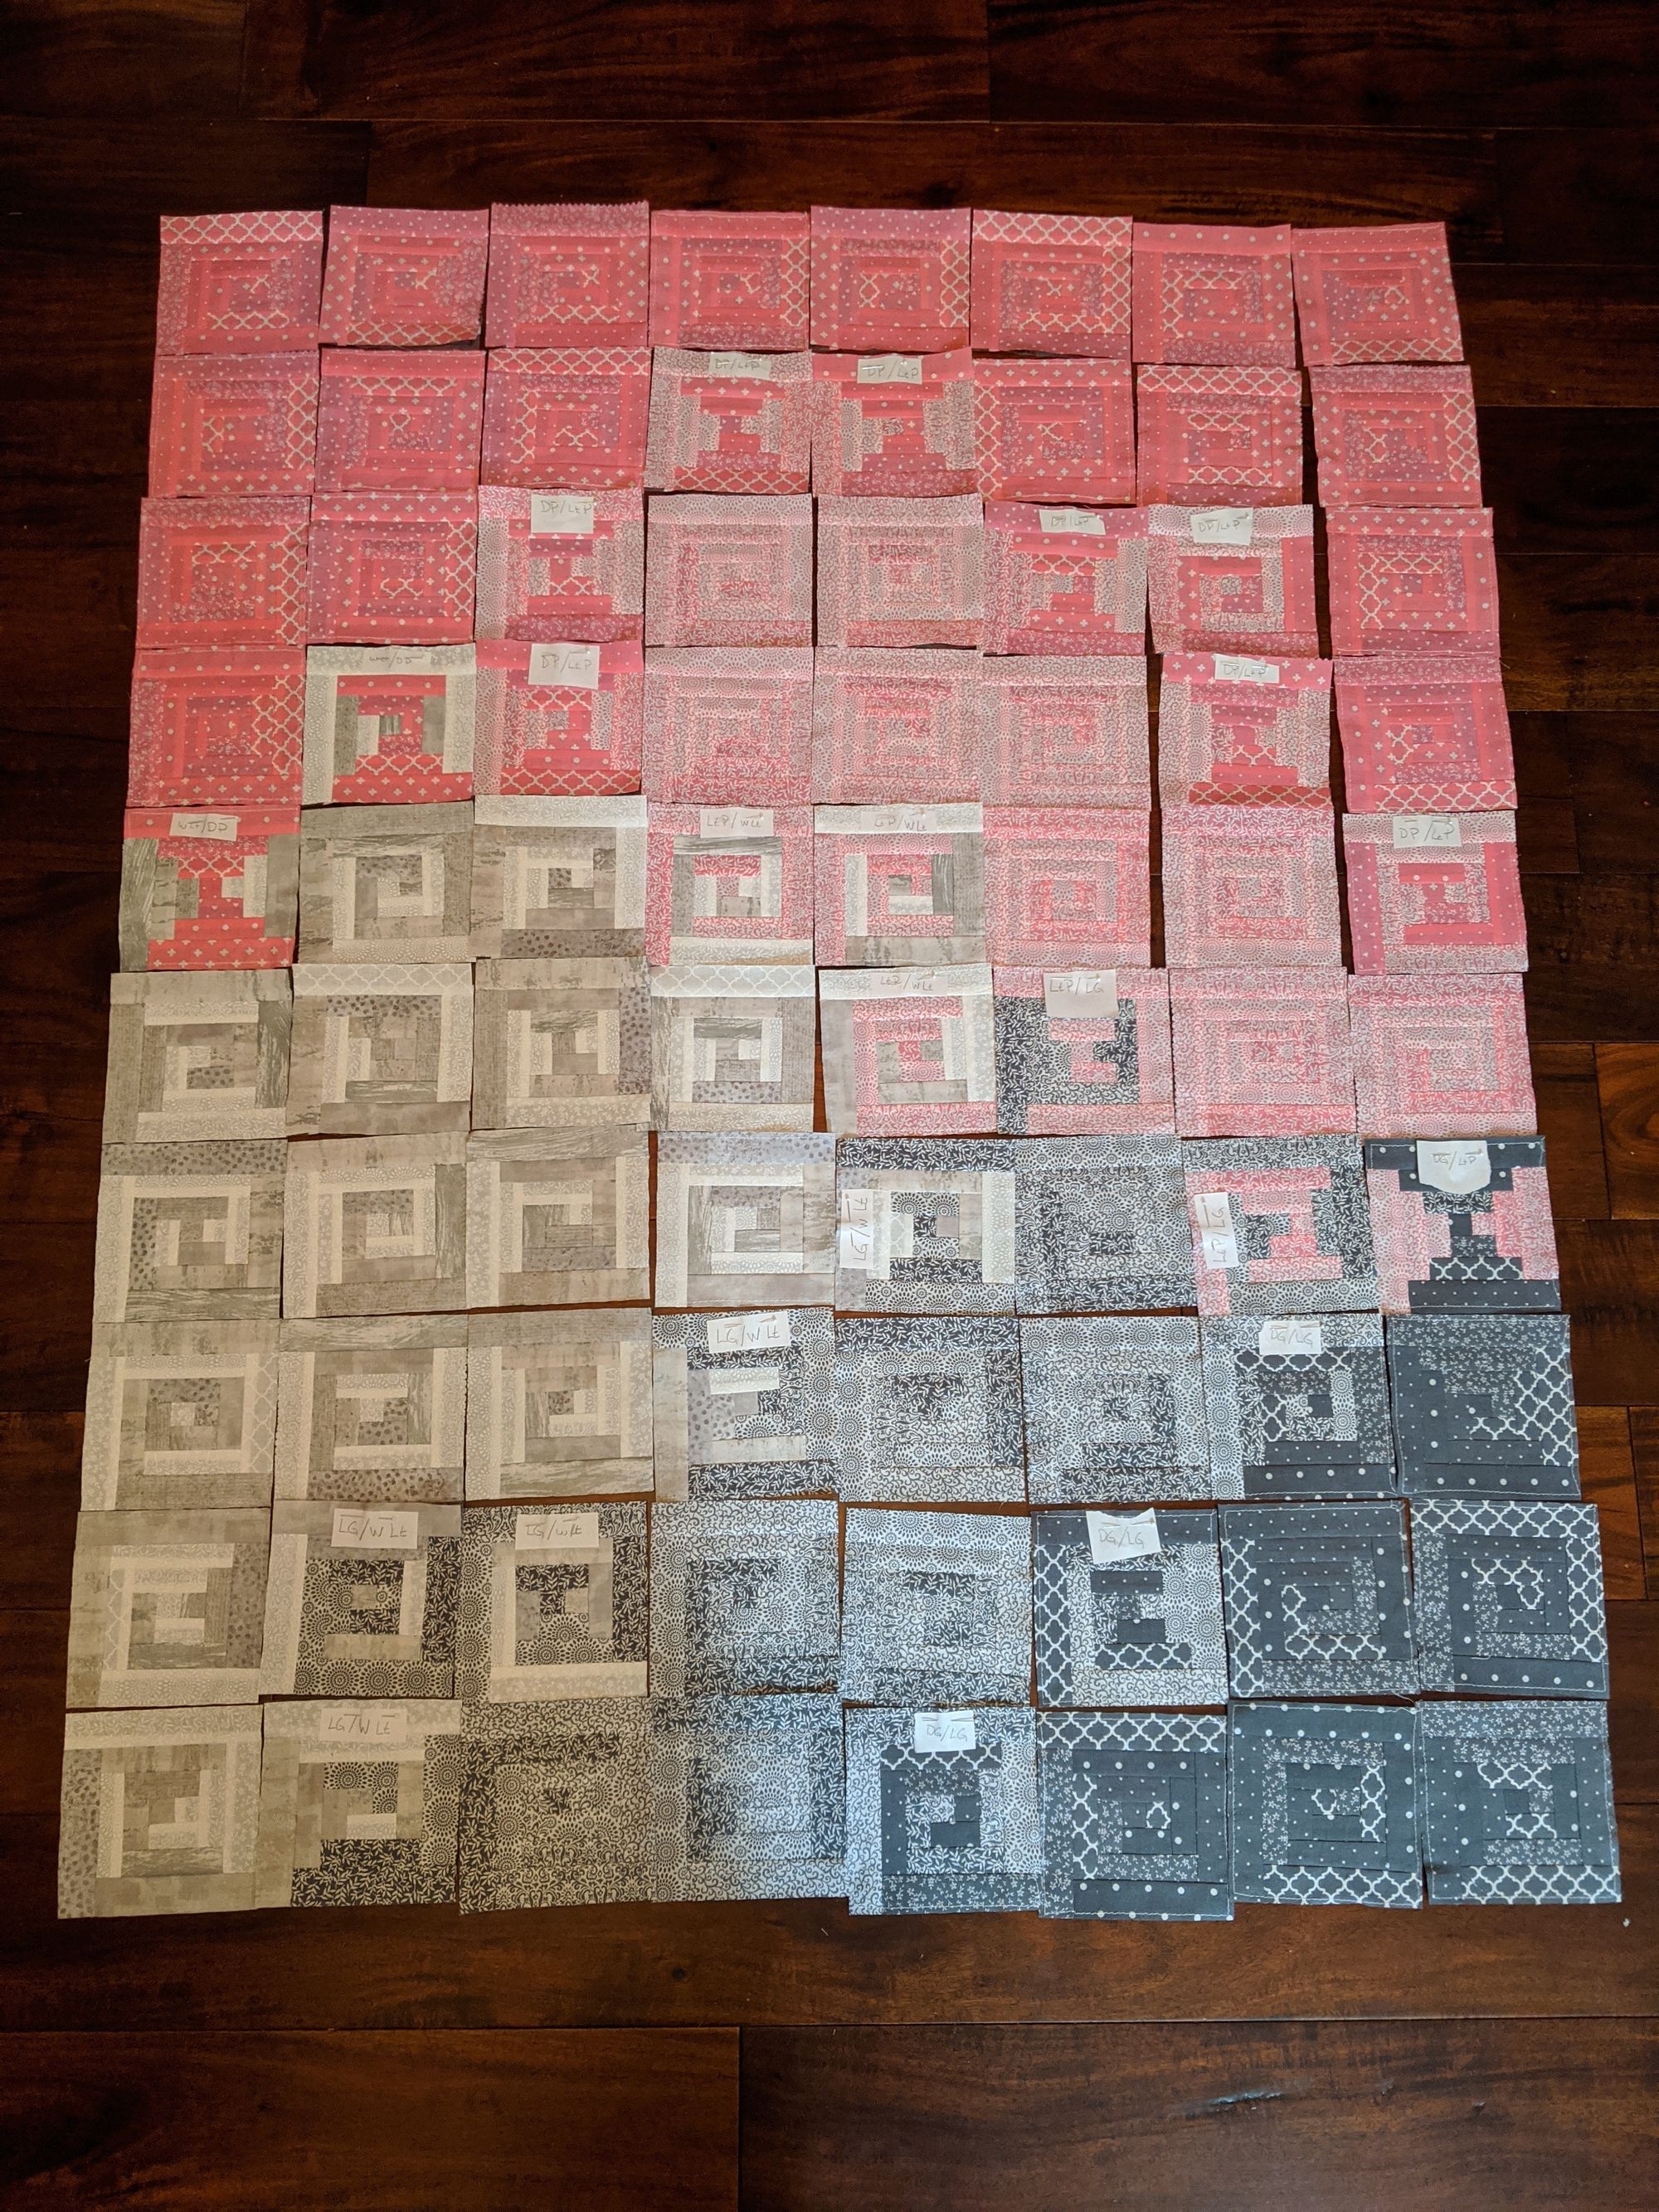
As can be seen above, there's a few notes still attached to several of the pieces.
So the next step was to start sewing a row of eight blocks together. And then two rows together.
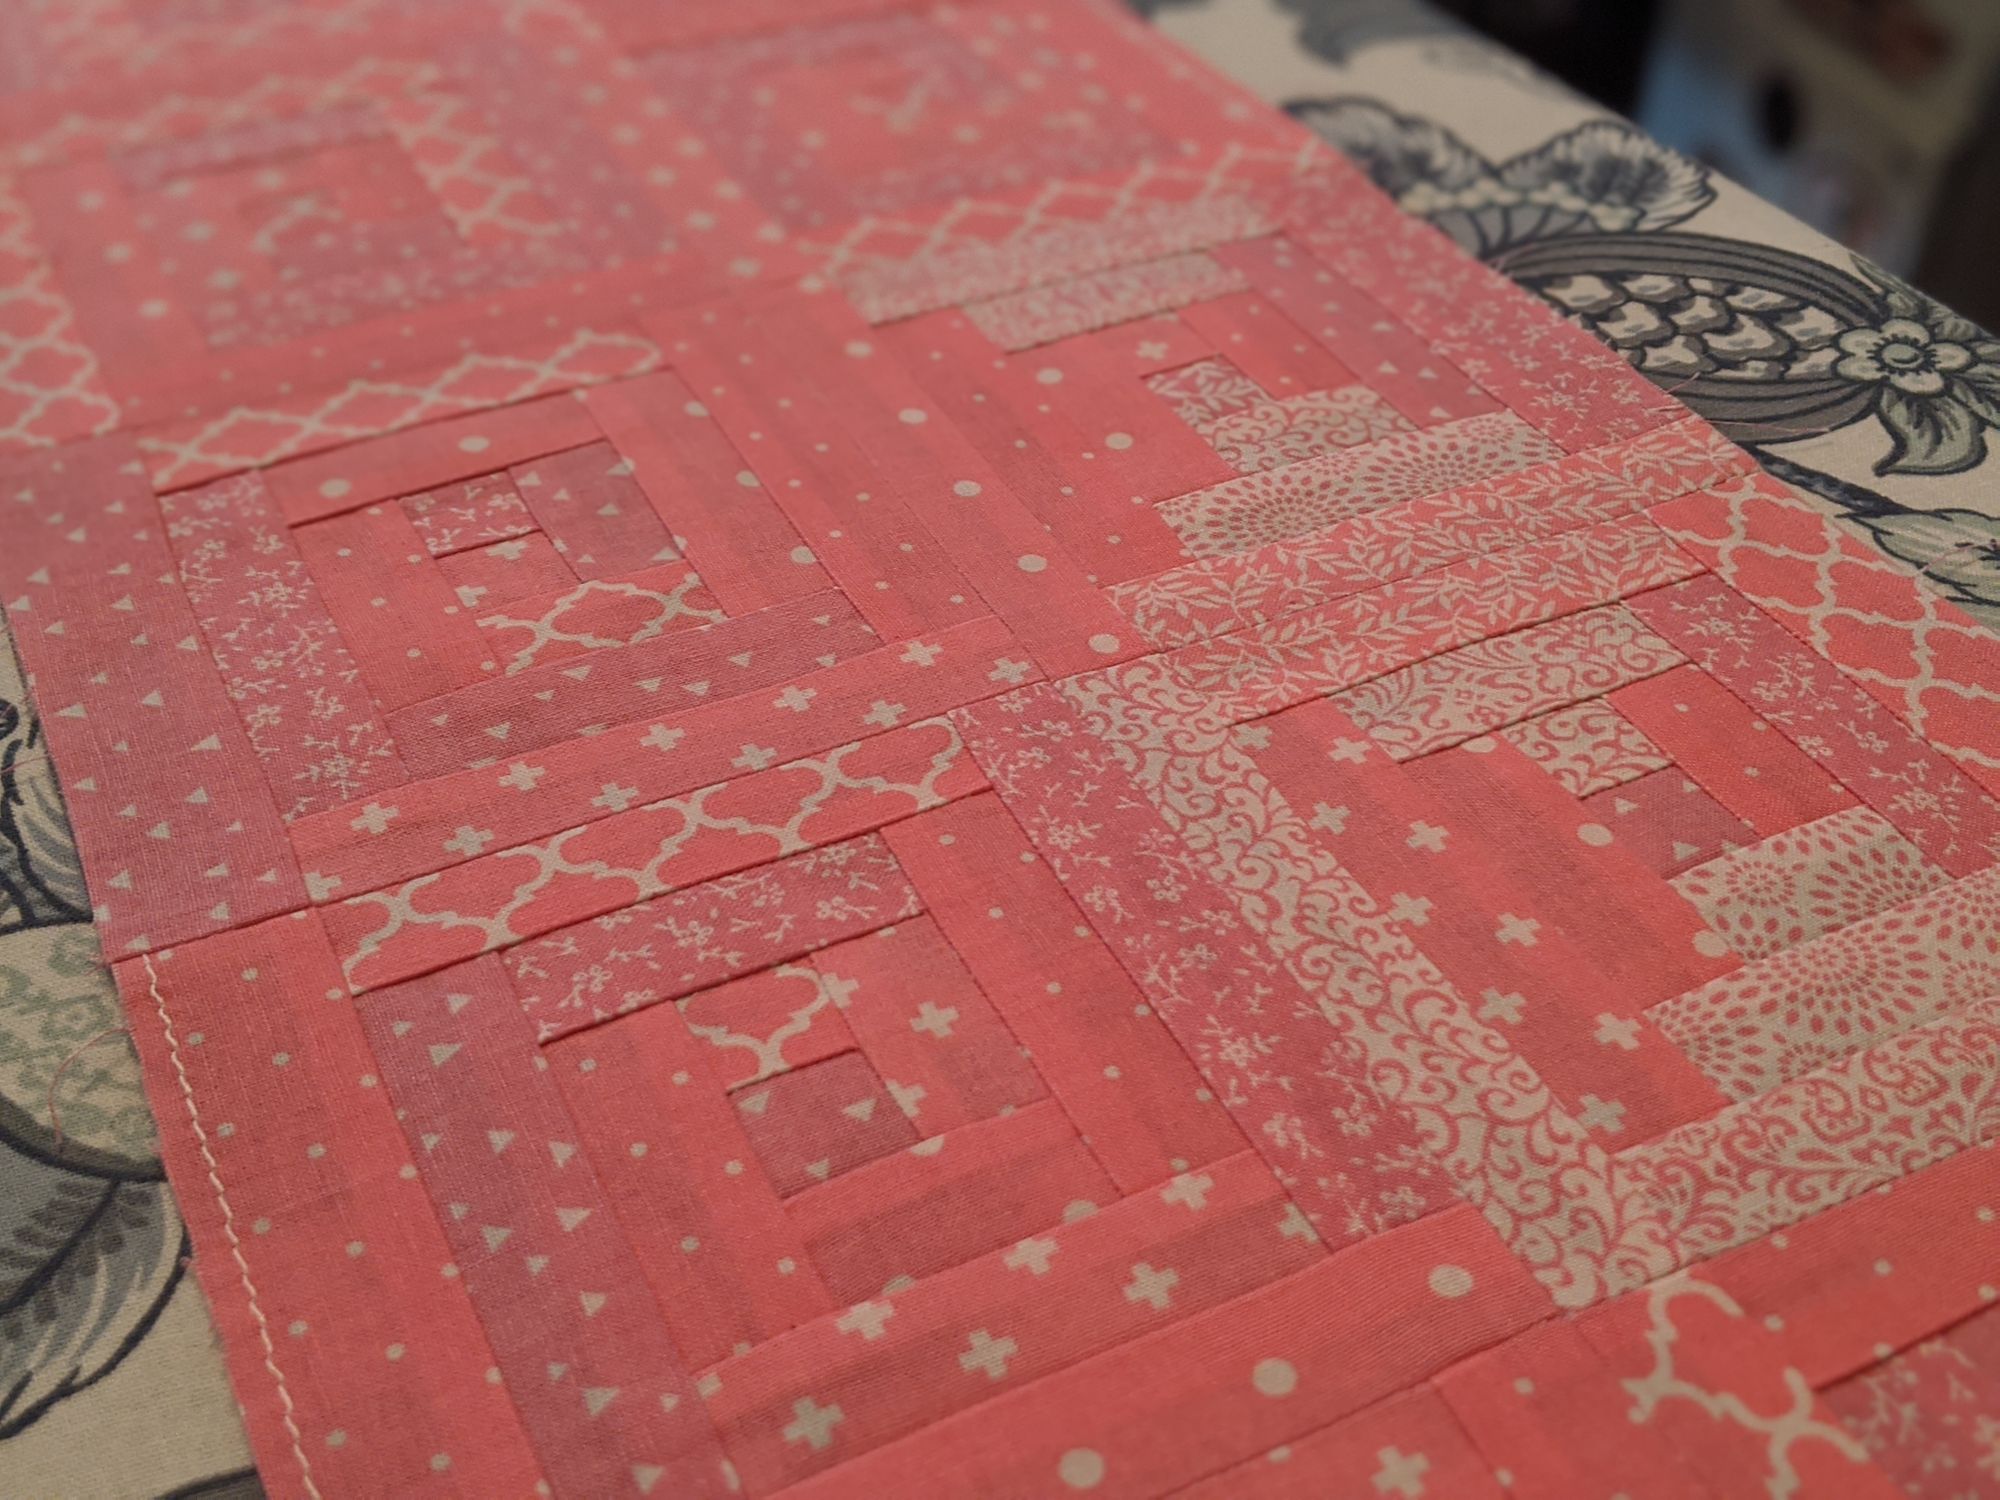
As you can see in this picture above, not only are there two rows assembled together, but the points are perfect where every block comes together. In this picture you can see two of the four-way seem points where the rows come together, and they all line up.
In fact, all six of the four-way points in this assembly of two rows are perfectly aligned.
I'd love to take all the credit, but to put together 13 little pieces of fabric into 16 blocks - there's over 200 small fabric strips that had to be perfectly aligned for these points to all come out perfectly - it's really just that easy using the leave-in foundations.
I'll keep you all updated on my progress. More to come!
