More Scrappy Ideas
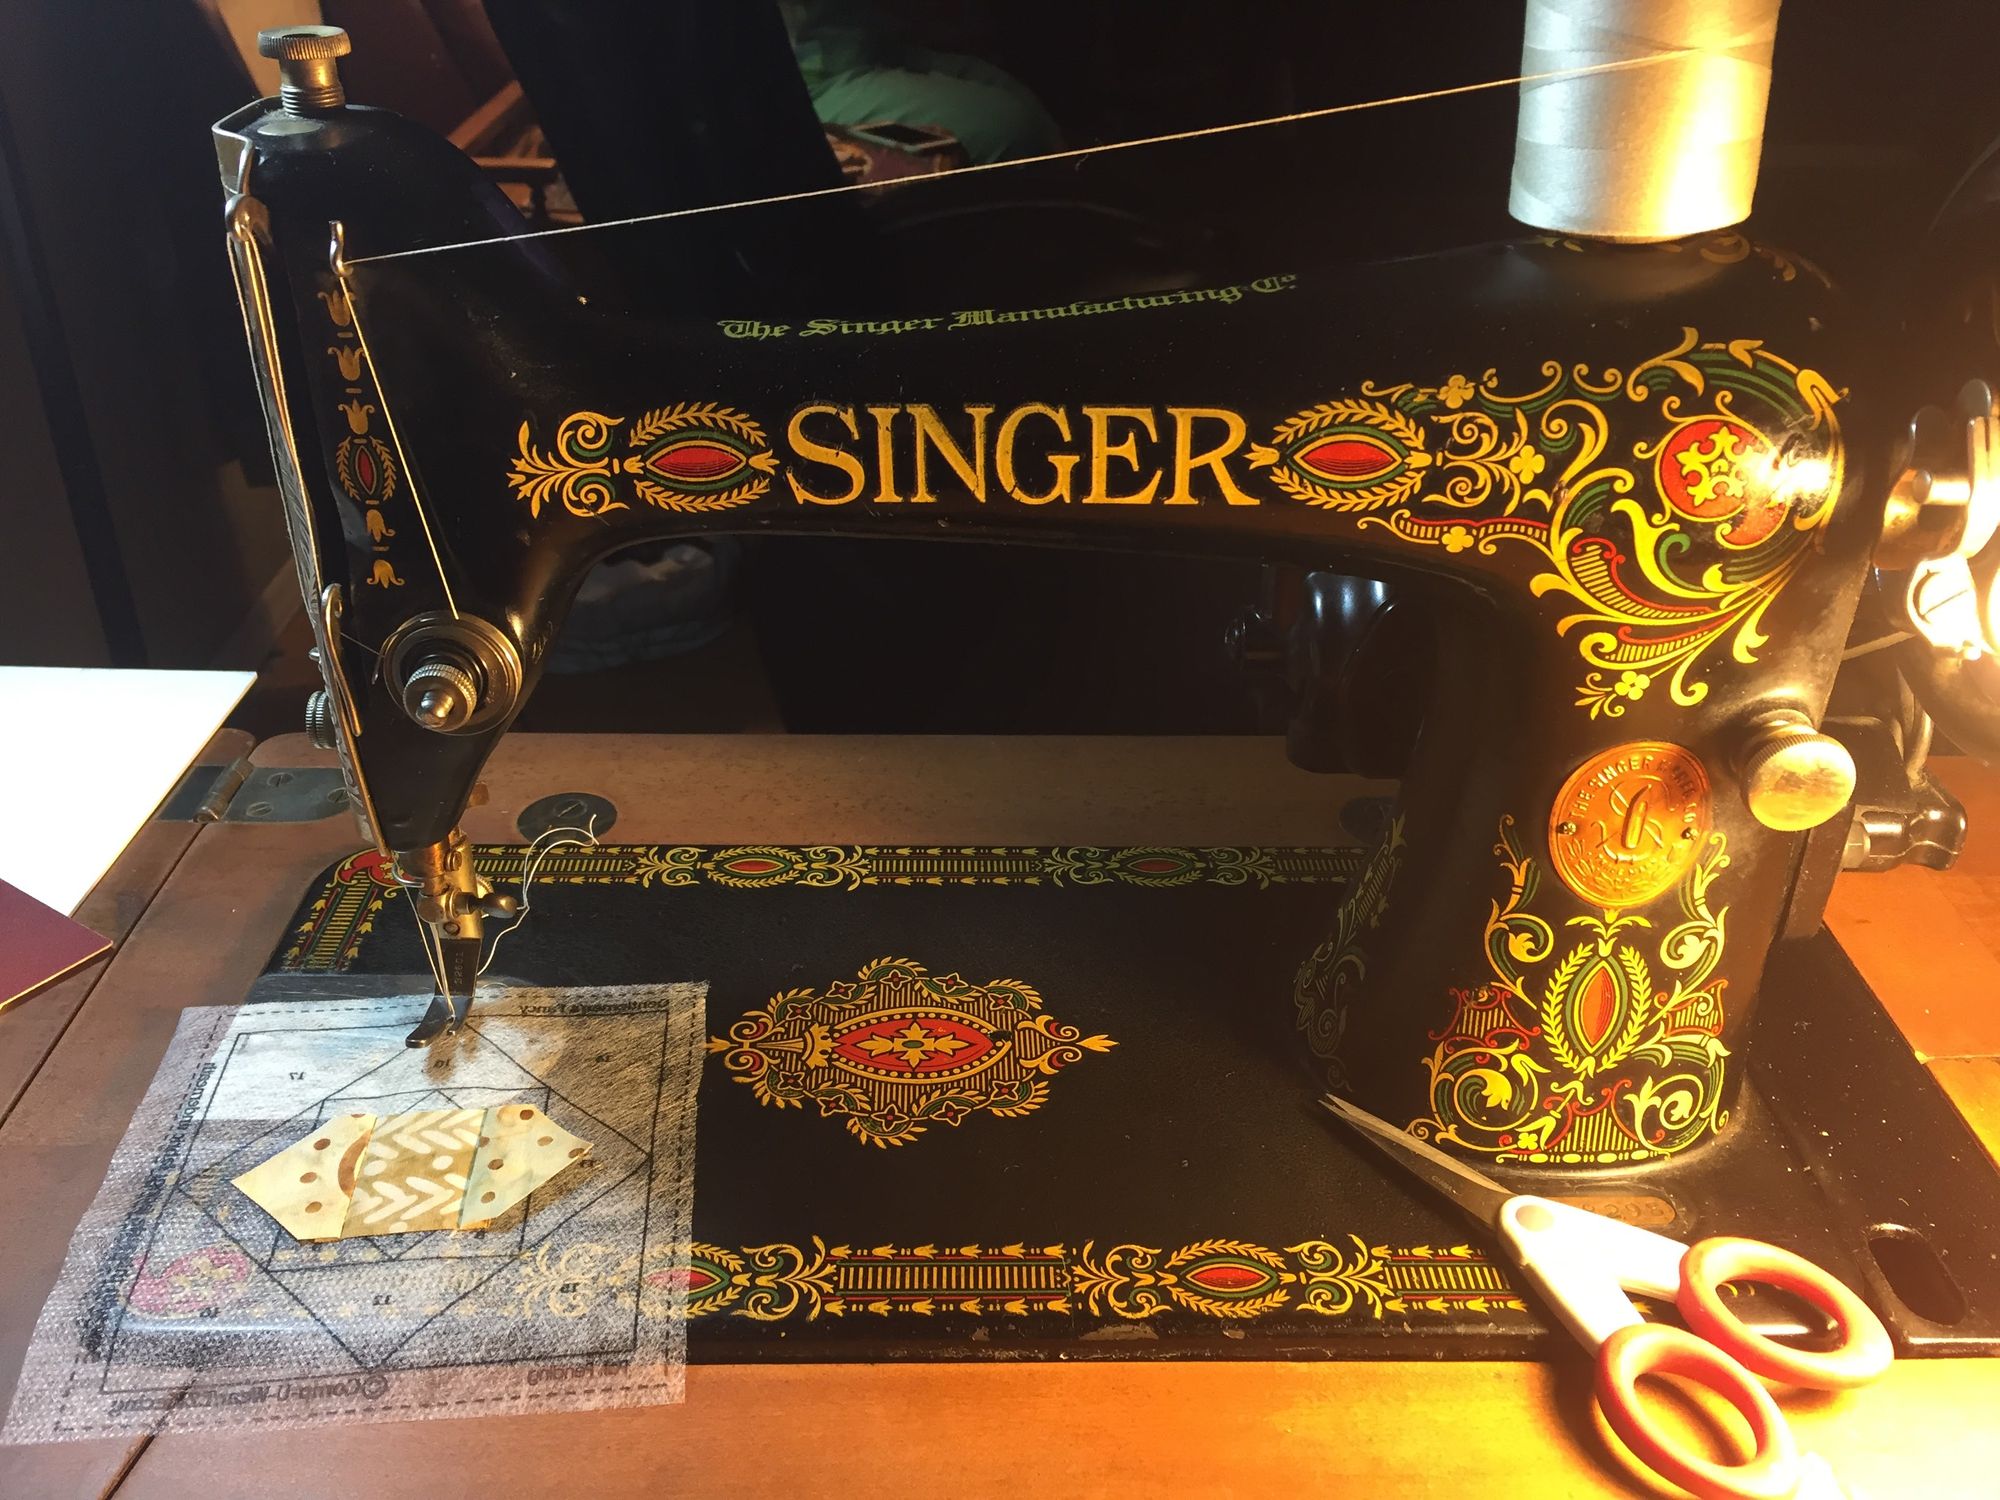
We are back to work! I hope all of the mothers out there had a wonderful Mother's Day. Mine was great – got to Skype with the kids then the hubby made me a fabulous dinner and even cleaned the kitchen afterwards. It was a most relaxing day – and yes, I did get to do some stitching at home on "Anna." (For those of you that don't know me well, I do have a collection of antique and vintage machines. Anna was given to me by my "second" mother and it had been her mother's before that. I remember her mother, Anna, sewing on it when I was a child and it meant a great deal to me to get this machine. It is a 1918 Singer that was originally a treadle; it is a beautiful machine in a beautiful cabinet.)
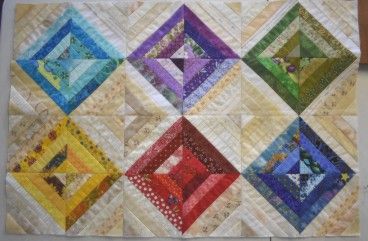
I mentioned last week that I had another project that was great for using up scraps. The picture at the top is the first 24 blocks to this quilt. I don't know how big it is going to end up, but this shows a piece that measures 20" x 30". I don't have a pattern for a quilt yet, just packages of blocks. I think I mentioned previously, that when I sort my fabrics in my stash, I sort them by colors (red, green, blue, turquoise, pink, purples, yellows and neutrals.) Anything that is less than a fat quarter, usually gets cut into strips that measure 1-3/4" wide. That size works for several of my scrappy quilts like pineapples and log cabins. Fat quarters and anything up to one yard, go in another large bin by color and then yardage is put in a cabinet.
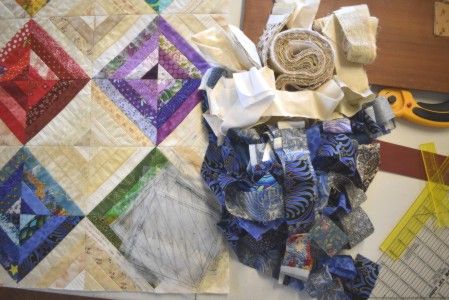
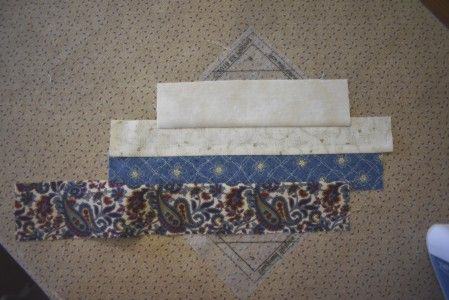
Today I pulled the neutrals (since they are half of all the blocks in this quilt) and blue strips.
I don't even cut them to length beforehand. I just grab a strip and set it on the foundation over space #1 and then use my scissors to cut it off. I do the same for fabric piece #2.
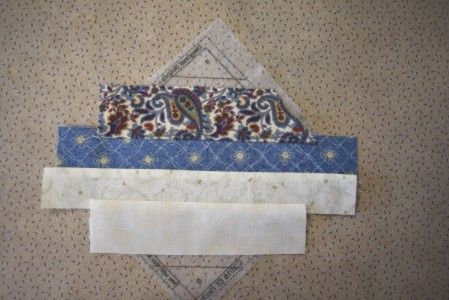
What I really like about this block is, after I stitch the first two pieces (as shown above), I can use my straight edge, Add-A-Quarter ruler and rotary cutter to trim both fabrics in preparation for adding BOTH pieces #3 and #4. It cuts trips to the cutting mat and to the ironing mat in half!
And again, when adding the next two pieces, I set them with right sides together and trim the length with the scissors, nothing precise.
Here, I sewed fabric piece #4 and then I trimmed it. I don't usually like to do it this way because you end up with a little fold at the cut and this left over piece of fabric is going back into the stash pile.
Again, you get to press both pieces at one time, take it to the cutting mat and trim both sides so you can add the next two pieces. This block took me about five minutes to make and I am anxious to get back to it. These blocks are also great as "leader and ender" pieces if you like to conserve on thread. I rarely piece without using the foundations so tend not to do leader and ender projects but if you are looking for one, this is a good one.
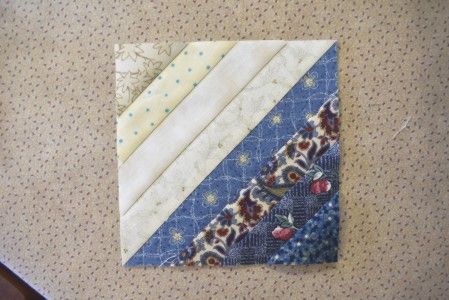
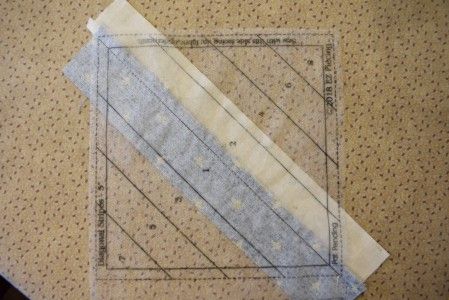
We offer these Diagonal Stripe Blocks (5") in a package of 24 for $5.95. Trust me, they are lots of fun. And there are so many different ways you can make these. You can do stripes on one half and a solid half-square triangle on the other half. They can be used to make a chevron stripe border for a quilt. They can be set to make a braid strip effect, just lots of different color ways and settings. I would love to see what you can come up with and share it here on the blog.
I hope you are all taking care of yourselves – some areas are loosening up the shelter-in-place orders but you still need to be vigilant with some common sense procedures. I hope you stay safe and stay healthy and HAPPY SEWING!