Scrap Quilts Re-visited
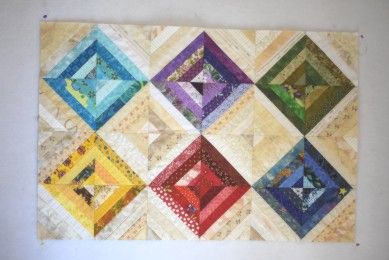
With our trip to Texas rapidly approaching (we are leaving on Sunday!), I thought I better put some projects together to take to work on. Laura needs more foundation blocks for the background of her gorgeous Sea Turtle quilt we have been working on for over a year. I got those printed this afternoon. But I will need to have something to work on while we are there – Grandma can always find time to do a little sewing. I thought this would be a good time to pull out some scraps and finish up the Diagonal Stripe scrap quilt that got started almost two years ago. With all of the cleaning and organizing I have been doing, the scrap bins are growing faster than I am sewing!
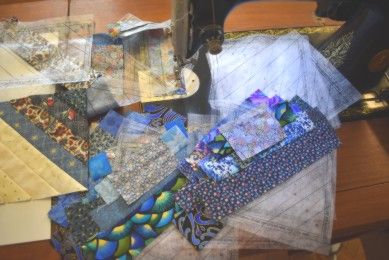
I pulled lots of strips from the bin and started cutting. I need a total of 24 blocks in each of 8 colors so that meant a minimum of 24 pieces in four different lengths. I cut a lot of extras so I could get a good scrappy look. I managed to get the 24 blocks done in blues and another 24 in yellows. Tomorrow I will cut the other sets in six different color ways. I will just have one small bin of neutral strips and the half-finished blocks to take. I'm excited to think I might actually get this quilt done. Right now, the design is for a 60" x 80" quilt but because they go so fast, I threw in a bunch of extra block foundations and I might just steal a few of Laura's strips to make it bigger. We'll see.
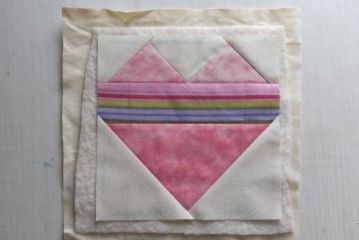
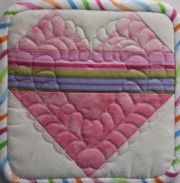
I made the three Heart blocks to go with the Heart Banner, and like usual, I decided to make three matching potholders. I know making potholders is about the easiest thing to make but I just wanted to share a little tip that I learned the hard way. When my block is complete, I layer it like normal with a piece of batting and a piece of muslin (or any scrap piece of fabric) as my backing. I quilt the block then trim it down. I add a layer of Insulbrite and then the backing I want to show when done. It is then ready for binding. My tip is that if you quilt through all the layers, heat quickly comes through where the stitching is. The first few that I made, I only put one layer of batting in them and they just aren't enough protection. These are really great to look at as well as to use.
The other little project that I finished yesterday was the Silver Star Dog Pillow.
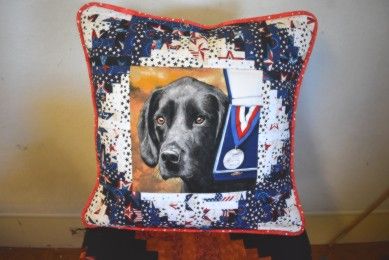
I believe that in the previous blog when I talked about this project, I said the blocks were 4" (finished) blocks. They are the 4-1/2" Log Cabin blocks. I had bought a 16" pillow form, thinking they were 4" and that the center panel was 8" square. When I went to measure it, I realized my mistake so now I think I need to get an 18" pillow form. This picture shows it with the smaller form in it but it really has room for a larger one. But, I do love how this one came out.
I am really excited for this trip – we won't be able to do any exploring with the way things are in Texas with the Covid-19 situation but we will be able to spend some great time with our two grandsons and just enjoy good family time. I will be able to ship most orders while we are gone, so don't let that hold you back from getting to work on a new project! In the meantime, stay safe, stay healthy and HAPPY QUILTING!
